|
|
|||||||||||||||||||
|
CHRISTCHURCH AND DISTRICT MODEL FLYING CLUB BMFA affiliation no. 2581 |
|||||||||||||
|
THE SZD NIETOPERZ BY ANDREW TUBB |
|||||||||||||
|
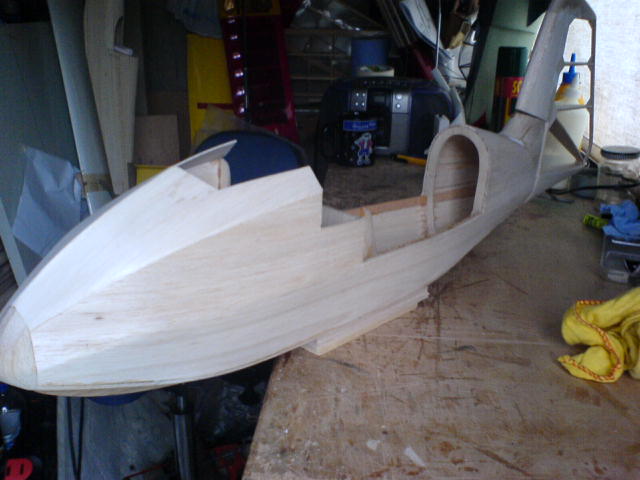
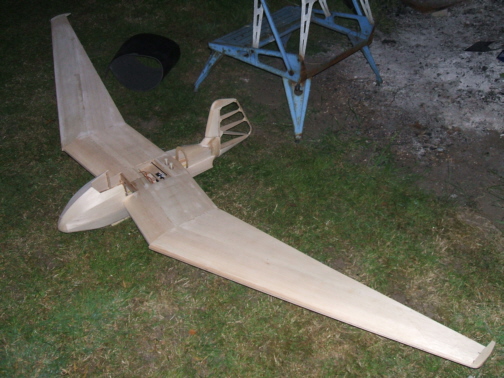
INTRODUCTION 3 Mar 07 (or, what Ive been doing for the past year) I didn't realise just how long I've been working on this model until I had a look at the date of the photos in this attatchment. May last year I built the fuz, so the way things are going, it'll be another year before it's finished and will qualify for the C&F scale rules of 3 years??. The plan for the Nietoperz was bought for me a few Christmass ago along with a couple of others, the most notable being an 86" span DH-108 sloper. That one in itself is to behold. The basic plan is for a one piece 100" span scale model of the Polish Tailless glider by SZD classification 6X, called the Nietopertz, which translates as 'Bat', for obvious reasons when you look at it. The fuz is basically an irregular octogan, sheeted for the best part in 1/16" sheet, with a large opening for the wing to drop into. The rudder is huge, so hopefully will not need lots of movement. Well it's a scale glider, so shouldn't. I've tried to keep to the full size with the hinging and kept it in rather than kavan or robarts, and faired in, shrouded, the hinge line. The wing is as hugely tapered as it is swept, with about 3/8" washout, and fully sheeted.
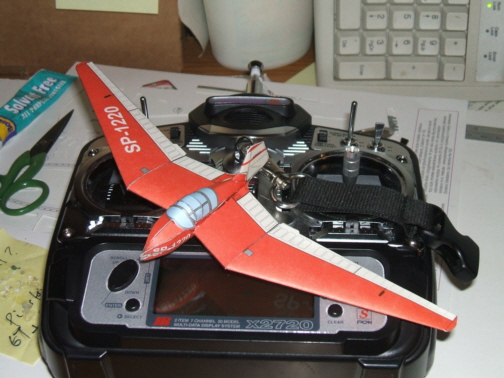
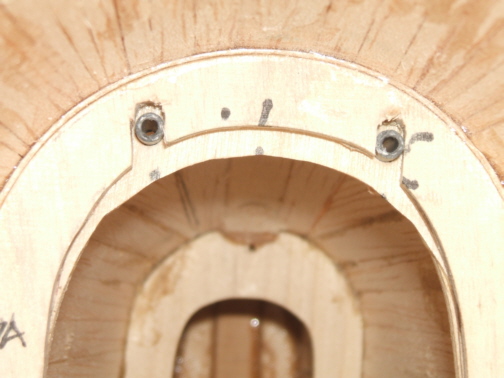
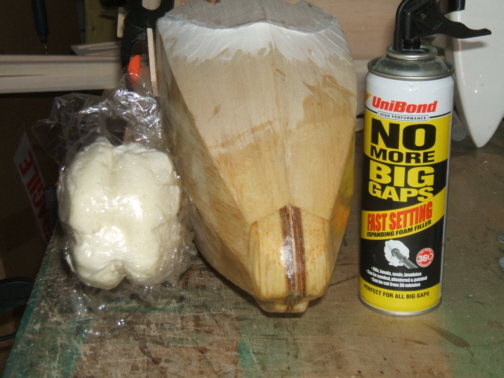
Curiously, there are no sheer webs on the spars. This concerned me, but talking it over with Trevor, and Clive a little later, confirmed that it would be OK to add some. Although Trevor assured me the designer was known for his well designed models and their strength. So, I'd already gone to the knee joint in the wing, but was thinking that it will be best to go to a third of the span out past there. For peace of mind. I will be glassing the wing to finish it, but that is some way off, as is painting, but it doesn't hurt to think about it. I cut three of the four wing skins this afternoon, and sheeted the top of the starboard wing. Hopefully when I go out to the shed after breakfast this morning, I can safely take the wing up and be pleased to see it has kept the washin and there is minimal work to do on the inside to catch any missed ribs. 8 August 2007 So, after repairing the hole accidently put in the bottom of the wing (not by me by the way), I got to the task of glassing the top of the wing, to a point just passed the inner to outer join. A goodly amount of blending in later, and the top is finished and ready for me to start the canopy. This has begun, and is progressing nicely, so all that remains is to start the plug for the large clear acetate part that is the main 'dome' of the canopy. The rest of the 'glass' work is relatively flat by comparison. The first and last photo's are for info only. The paper model was just for fun, and the carbon pins are part of the location for the rear of the canopy
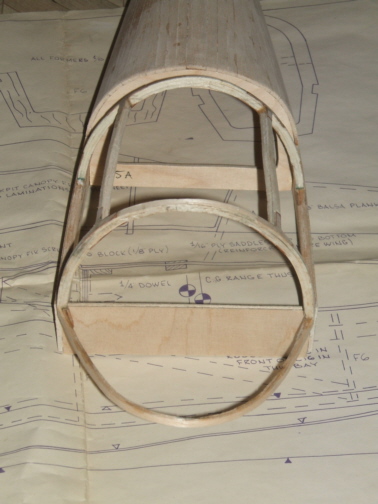
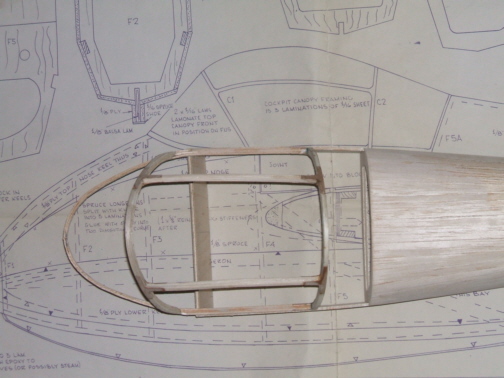
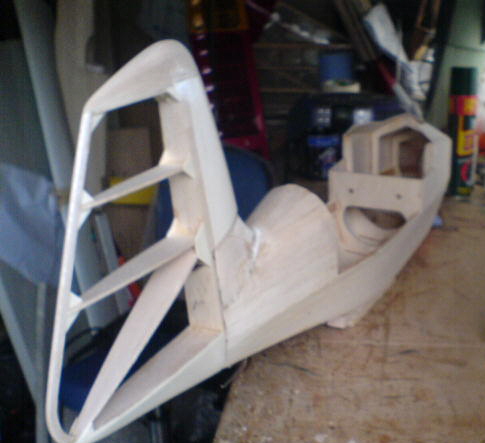
10 August 2007. It occured to me that it shouldn't be too hard to draw the plans for the SZD with a two piece wing, that mounts to a central spar running through the fuselage, and bolts to secure it. This will cure two problems, 1) transport issues, and 2) you don't need a shed the length of a tennis court to build a one piece wing in. I suppose I must finish this first version, ( for me), first. 31 August 2007 P.S. Here are a few pics of the canopy frame in a better light. By the way, all of the 'hoops' are 3 laminations of 1/16" and the 1/64" ply at the joints are set into the balsa. I have given the hoop parts a lick of silver paint since taking these, although I know that I'll have to do some making up to allow the glazing to have something to glue to.
|
|||||||||||||
 |
|||||||||||||
 |
|||||||||||||
 |
|||||||||||||
|
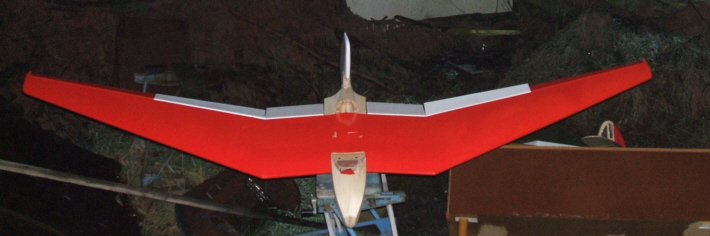
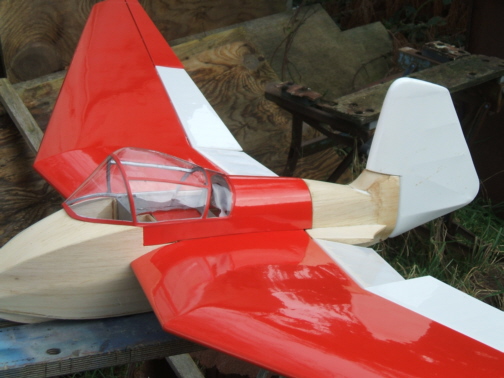
31 Dec 07. At long last some progress on this beast of a project. "Crikey, that's a lot of red." The shop keeper asked me if I wouldn't rather invest in the company, than buy the film over the counter, to see if I'd get some discount, as this took 3 rolls of ProFilm. Thankfully with what's left, there is enough to cover the fuz, without a new roll. After realising I had covered the inboard surfaces with red originally, I knew I had to recover them in white, I decided to use 'Fibafilm'. Although a pain to use, I wish I had used it for all the white for the 'scale effect', but things are a little past that, plus, you know it will be more prone to hanger rash when you go to that much effort (that huge fin), and long term the ProFilm is harder wearing. Sometimes there are good reasons for using a particular covering, be it scale effect (the look and feel), weight or plain and simple economics. The durability and integrity of the model can sometimes be affected by the covering used. Personal preference will also play a part |
|||||||||||||
 |
|||||||||||||

|
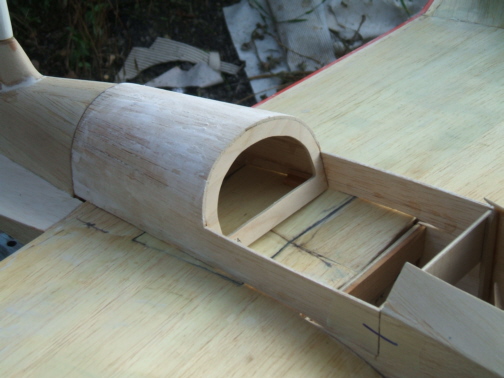
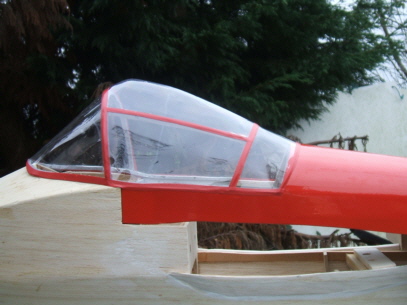
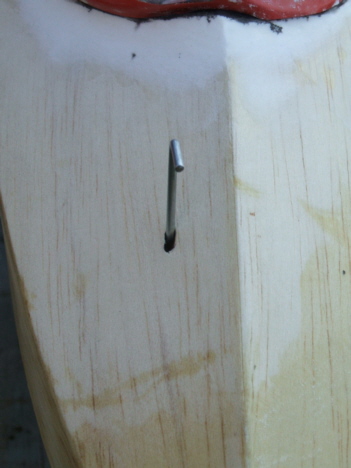
I have all but finished the front part of the canopy glazing. I was a bit anxious about the cutting and holding in place, until I clamped it in place after mostly cutting to shape, then ran the hot air gun over it from a distance to allow it to take the shape. After leaving the acetate to cool, it has mostly kept to shape and means that the gluing process will be a lot less stressed. Having mostly finished this part, I now find I have some making up to do as the front part of the fuz around the edge of the canopy is trimmed too far back. I have decided that the pitot tube location as on the full size just infront of the cockpit, will serve well as an on/off switch. Not sure if it will be pull/push (easiest), or turn, by linkage to internal slider (harder, more likely to fail). I still need to drill a hole in front while I think about things for a tow release, that I haven't bought yet. I'll soon be adding to the 'keel' of the fuz and final shaping before covering. If the weather keeps being so bad, I expect I'll have it finished quite soon, not being able to get out and fly much at the moment. |
 |
|||
 |
|||
|
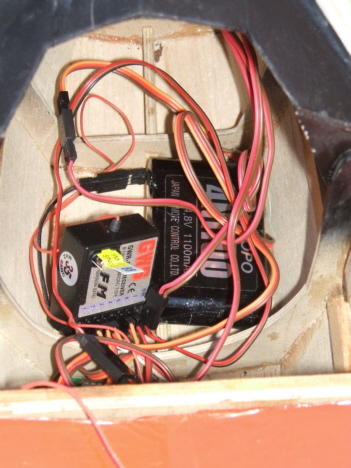
As you can see, There is now no reason to start watching the weather patterning to see a possible opening to maiden the SZD in the not too distant future. All that really remains is glassing the fuz (yes I've decided that it is nescessary), and the inside of the nose. Then the radio and programming. At the moment, the control surface movement has all gone to pot. From the time that I did the uncovered travel set up, I've set the horns into the surfaces of the airlerons, so it's not the end of the world. |
|
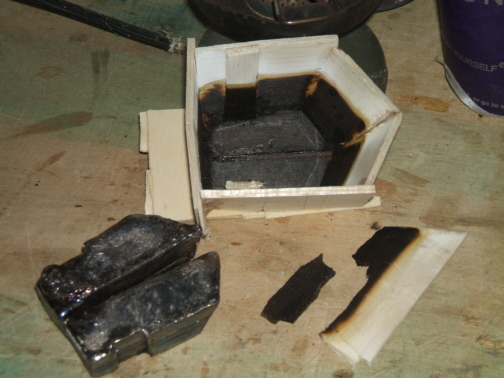
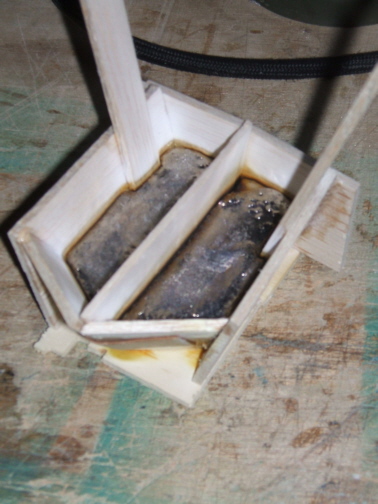
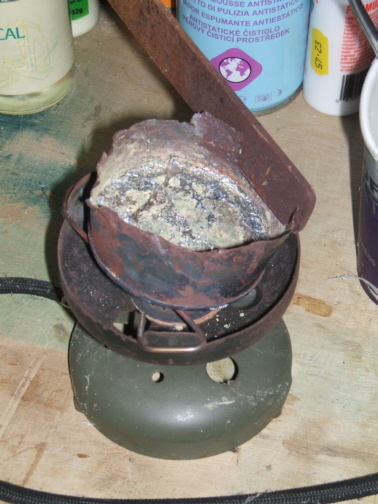
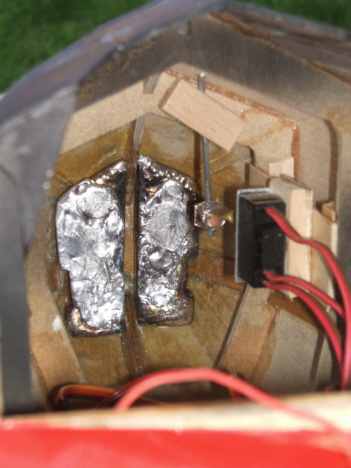
4 Feb 08 I'm still here as the pictures will lay testament to the adventures in lead casting today. AND there was a minimum of trimming to get them into the nose properly. The foam mould wasn't all that much use in the end, but it was a good learning exercise.Got some issue with the wing moving surfaces though. I've got a twist in somewhere. Nothing wants to sit right. Didn't help trying to do things this afternoon with the wind blowing the way it was. |
 |
|||||
 |
 |
||||
|
|
||||||||||||||||||||
|
18 Feb 08 I hope you've all had as productive a weekend as I have. I didn't get out to fly as I had hoped, even though the weather seemed great for it, but I did manage to get out to the shed. Hoorah! |
|
|
|
||||||||||||||||||||||||||||||||||||||||||||||||||||
|
14 March 08. All that remains for me to do is cover the fuz now and tidy the internals, Mike. The decals for the fuz will be easier and based on 1 sheet A4, and I still find it easier to do by hand than the less labour intensive method of printing them off. I think I'm reluctant to do this due to worries of waste. |
|
[Home] [Contact Us] [Links] [Calendar] [Results] [Techniques] [Newsletter] [C&F Comp] [Projects] [Nietoperz] [Duchess] [Triplane] [DH Rapide] [Gallery] [For Sale] [Harry Spotter's] |