SLOPING OFF...
...the Newsletter of Christchurch and District Model Flying Club for...August 2026

The pitfalls of buying an online bargain
The “Alchemist” 4m V-Tail
by Dave Bicker
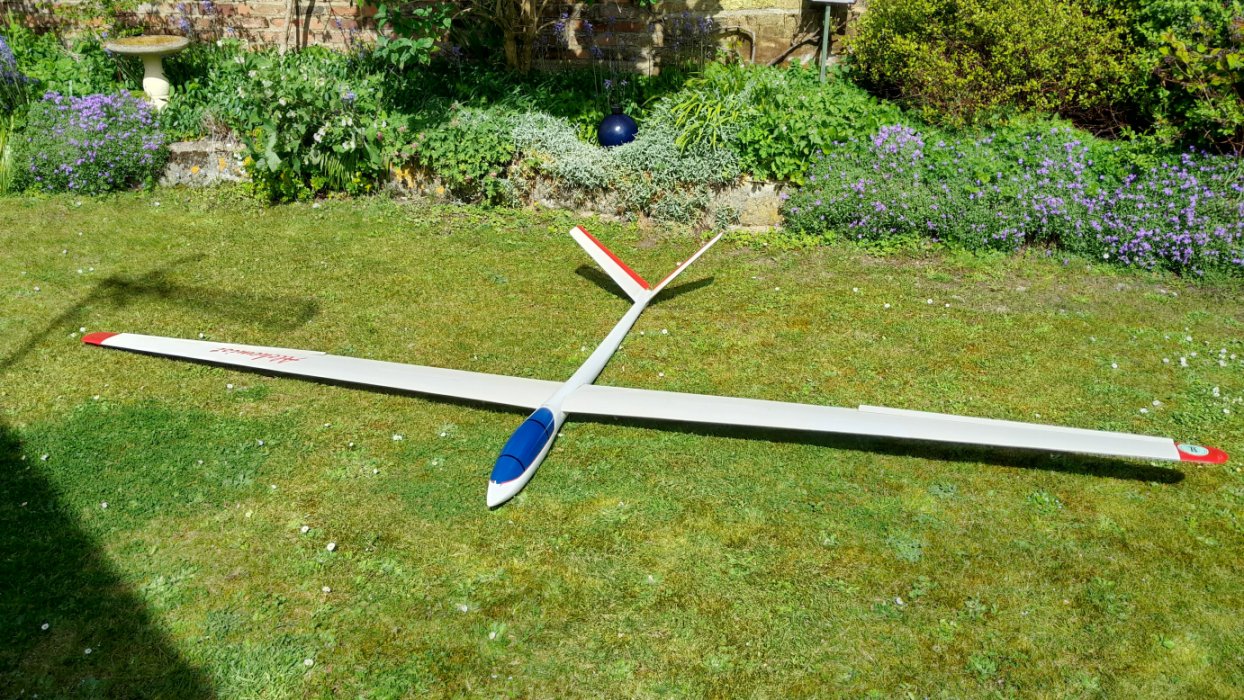
I saw this V-tail glider listed on eBay. I have been after a budget large wingspan glider for a while and also like V-tails. So I watched the auction through and made a last-second bid, winning it for £69. A bargain…. (Hmmm)!
The first problem was that it was 200 miles away in Boston, Lincs on a Buyer Collect eBay listing. Luckily, I have a relative who lives about 20 miles away in Baston, north of Peterborough. So I arranged for it to be collected. I then had to wait 2 months before we could arrange a date to meet half-way for me to collect it from them. So we arranged to meet in a shopping complex on the outskirts of Banbury for the exchange and a meal together. As a part of the exchange of goods, unexpectedly, I was given 2 very large crates full of spare Lego as well! Their oldest daughter is a Lego expert, making some substantial builds. It’ll take me ages to sort it all out into kits sometime!
So I came home with 2 big crates of Lego and the Alchemist glider in the front passenger seat. So my “bargain” glider was less of a bargain as it cost me £40 in fuel to collect it!
A more thorough inspection of the glider has revealed a lot of things that were not described in the listing and /or not visible in the sole picture of it.
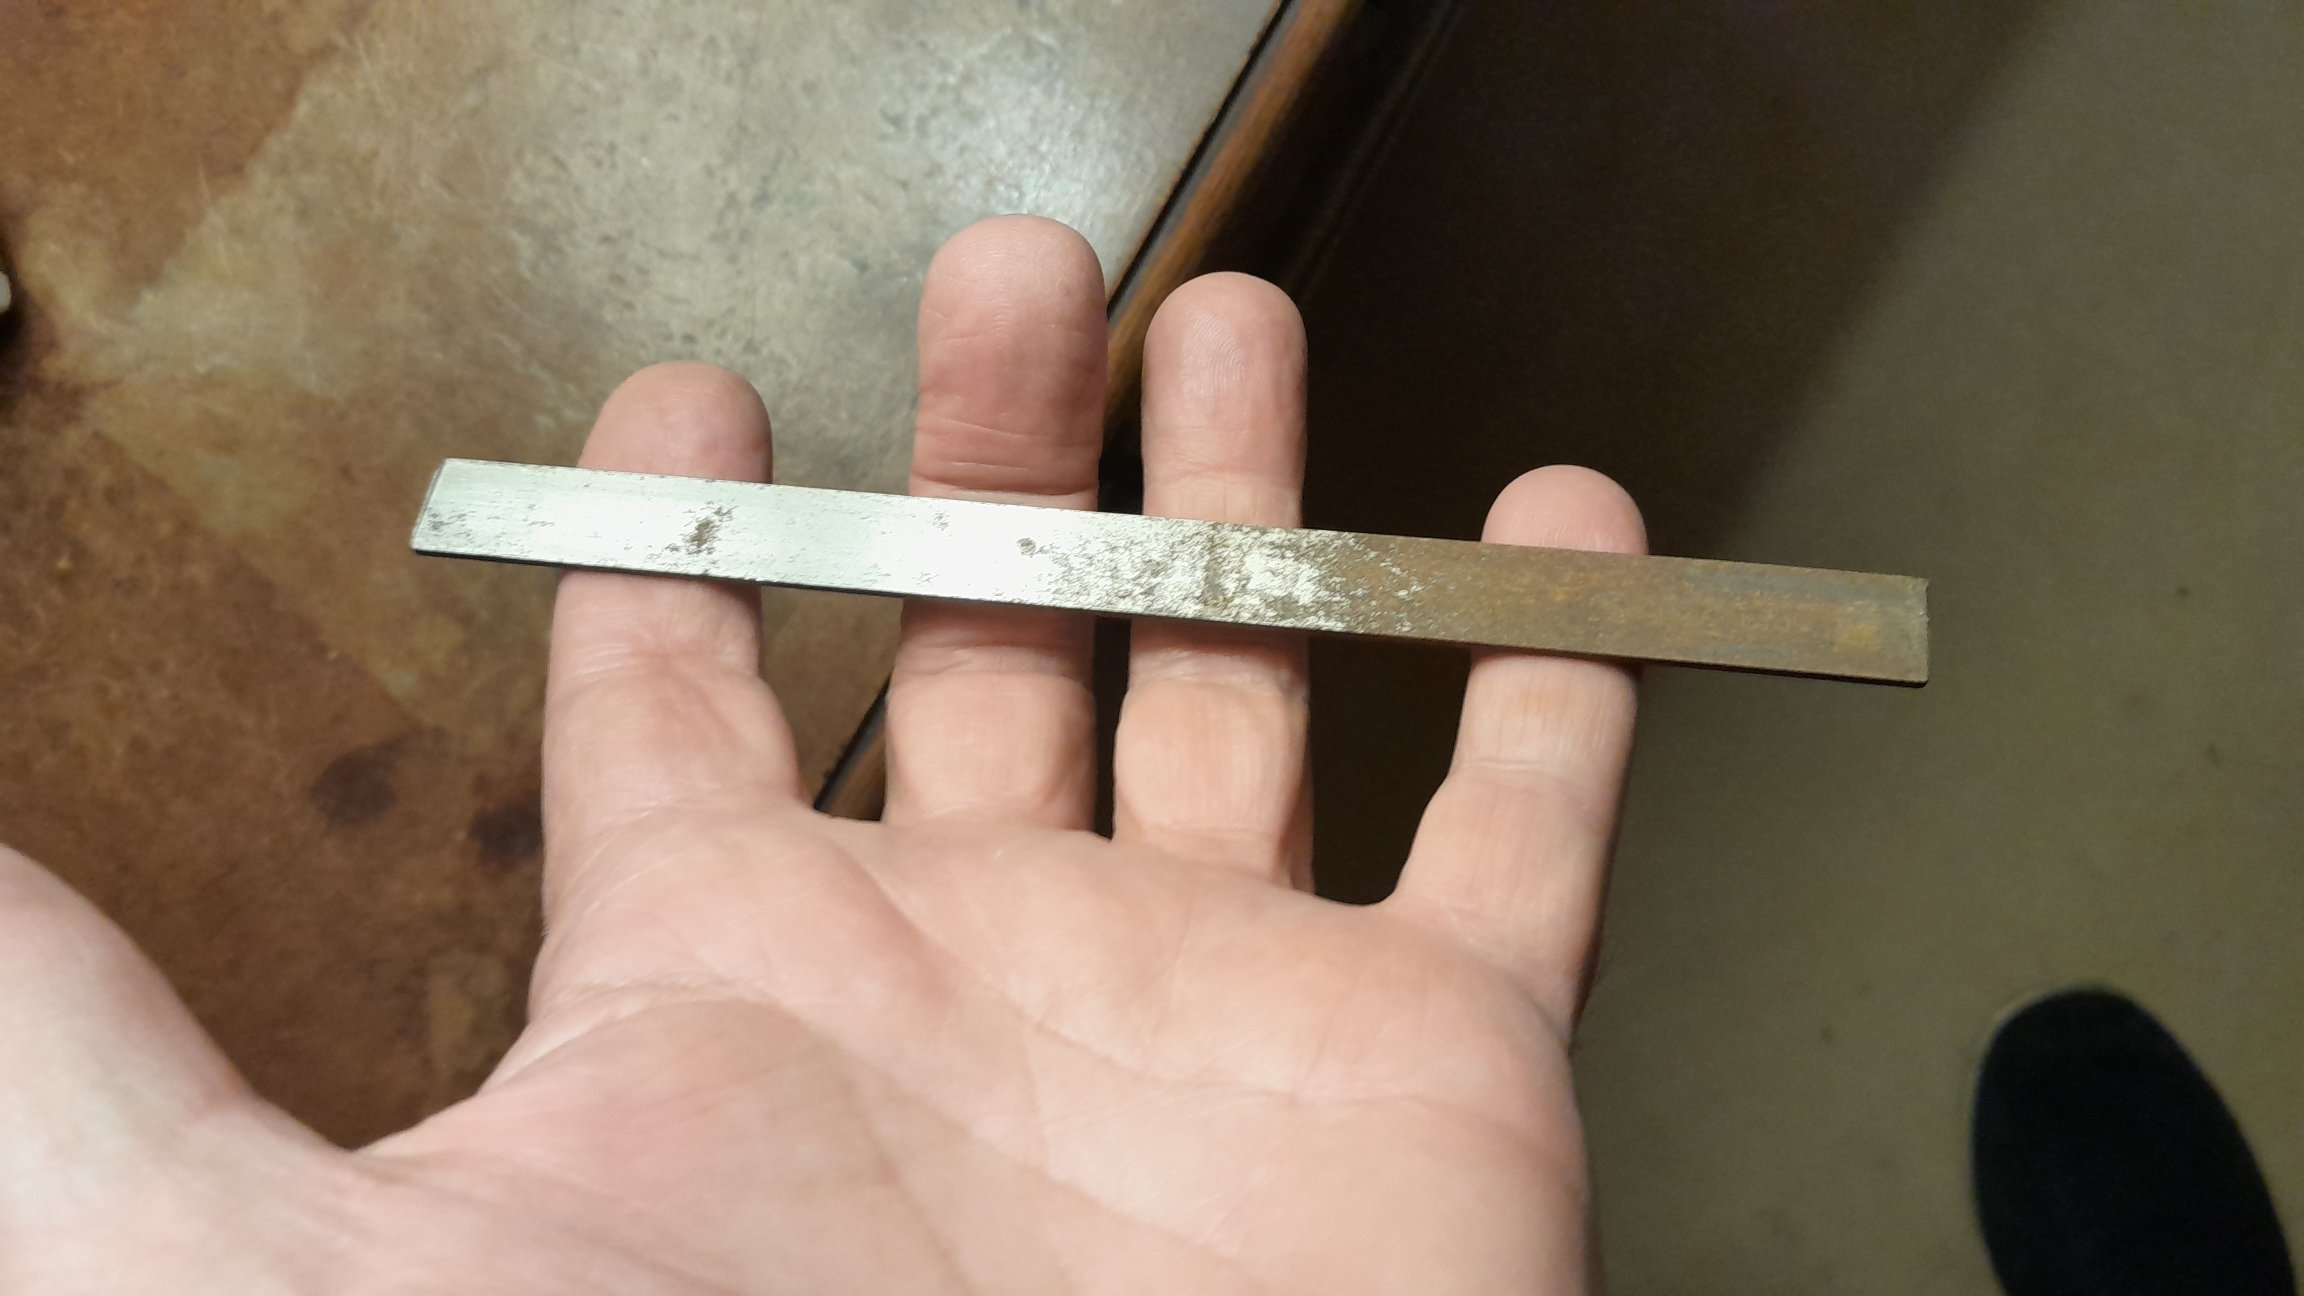
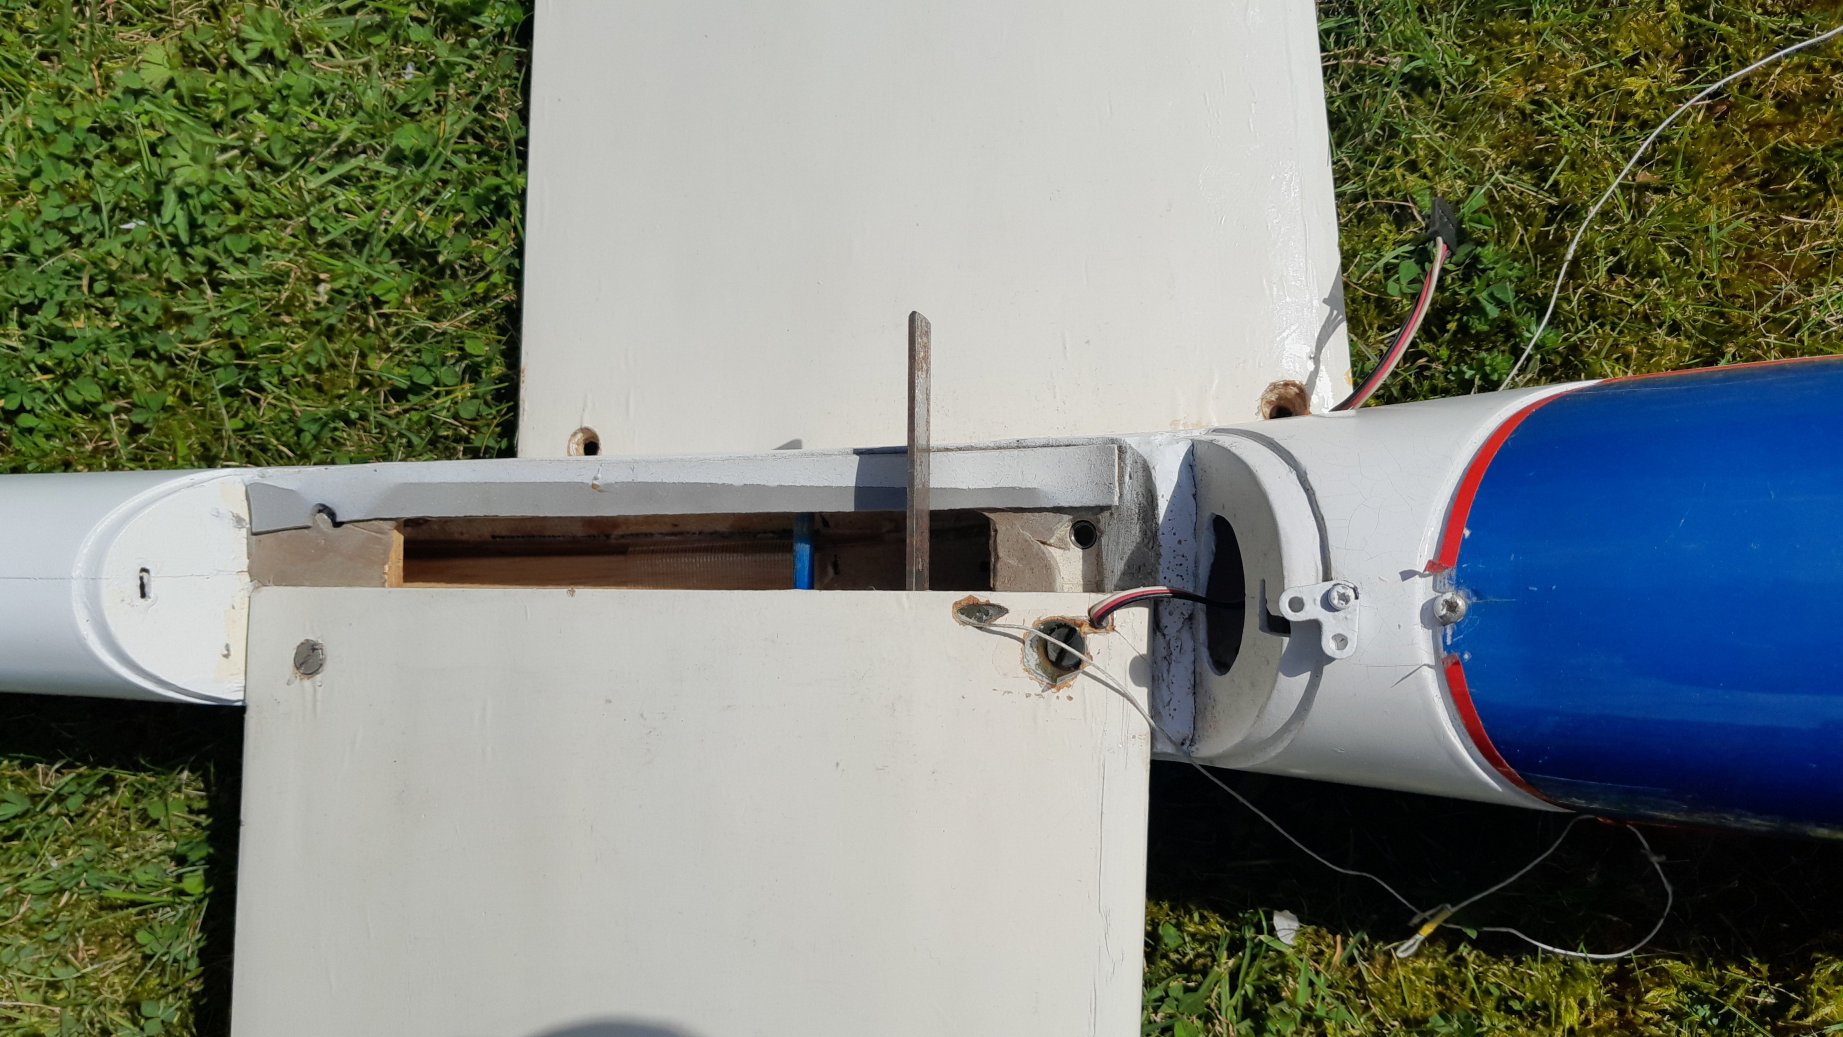
The first big concern is the size of the wing blade joiner. Bearing in mind that this has a span of 13 feet, the joiners (2) are only 6 ½” long, so only 3 ¼” of support for each wing! So the first thing that I’ve done is to buy a new 500mm long tube metal wing joiner and sleeve that I plan to cut into the wings between the 2 small blades (1 of which was missing anyway)!
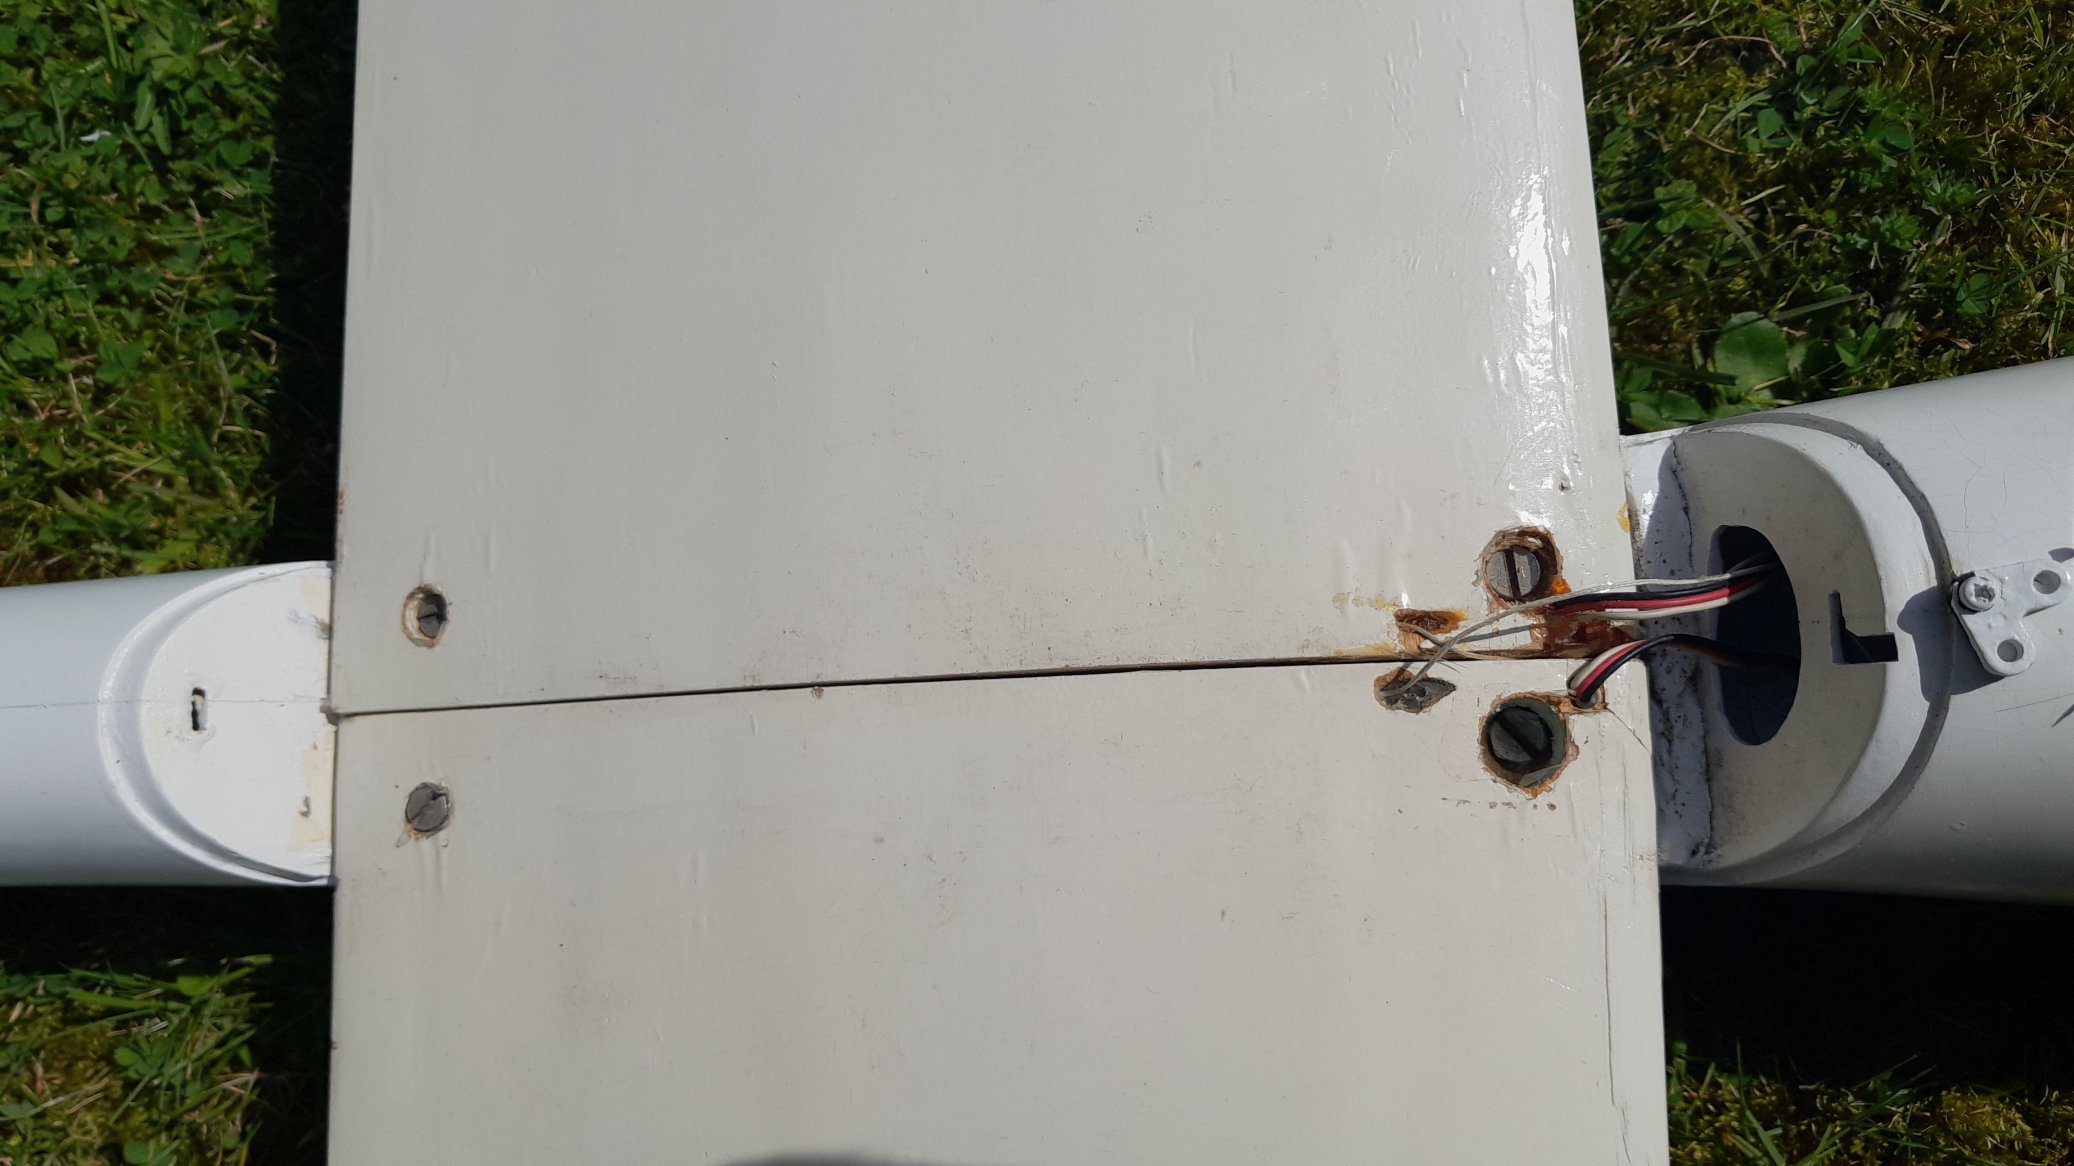
The wings are held on with 2 bolts each, but they are deeply recessed into the wings. So effectively, they are only holding the wings down by the lower skin. Something else to fix!
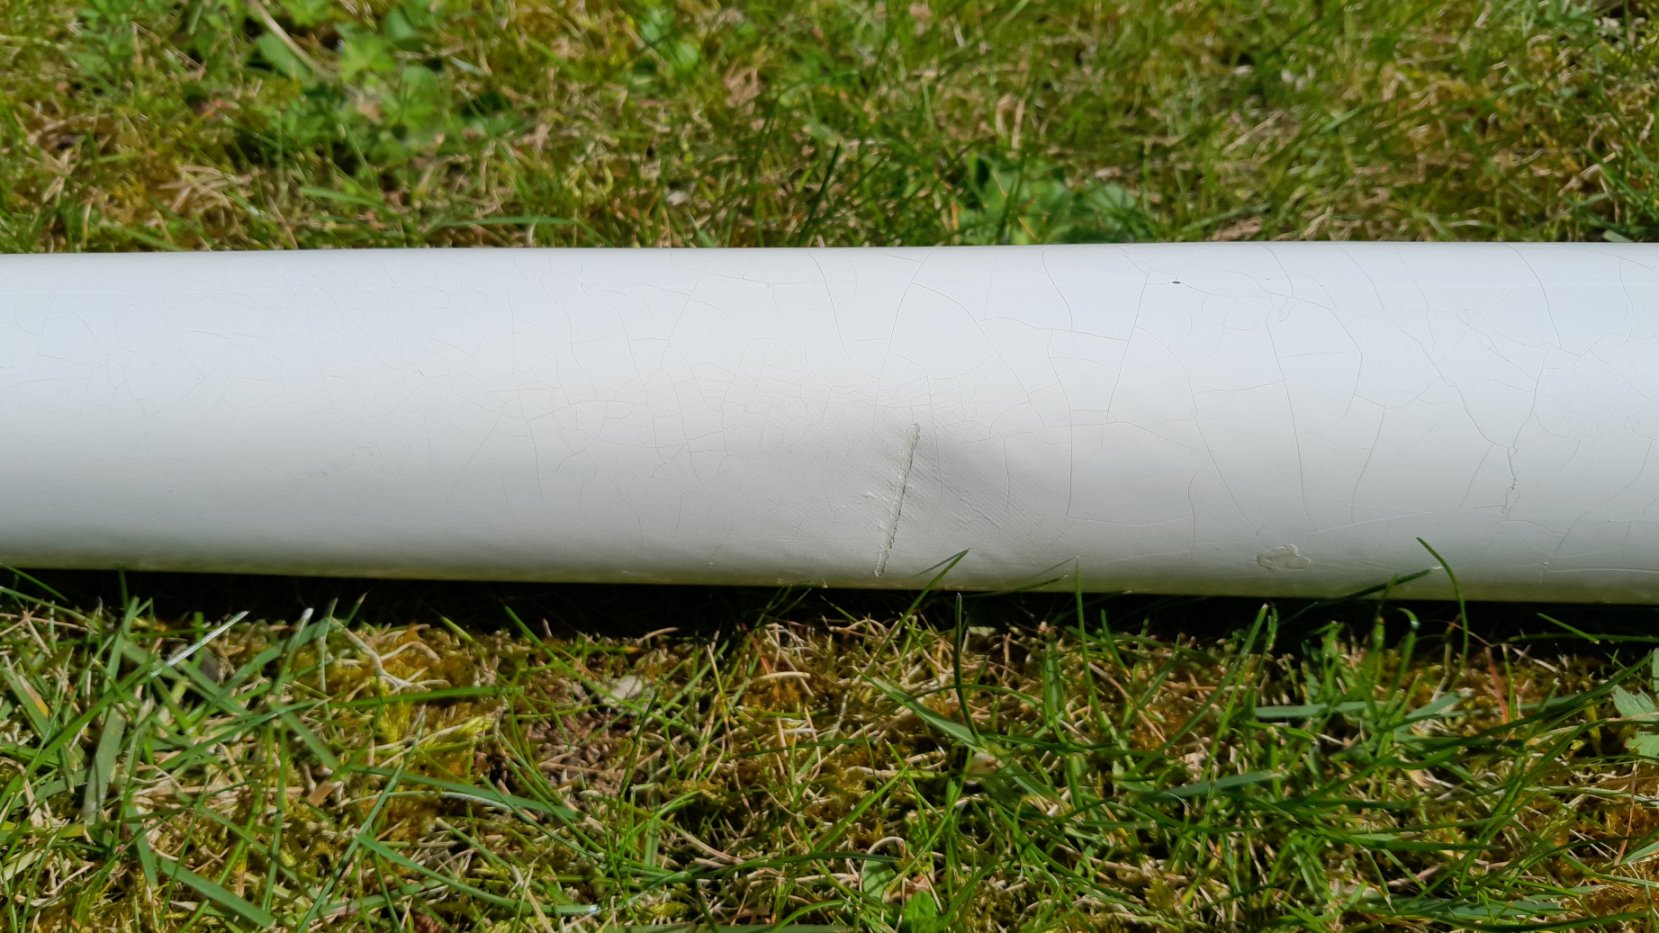
The next very obvious concern is the dent in the side of the fibreglass fuselage. I don’t think that it is landing damage as there doesn’t appear to be any flex in the tail section even with the dent. I think it is more likely to be “hangar rash” or crush damage caused during storage or transportation. The guy that sold it was obviously a dealer and had a heap of planes stacked up in the back of his van. Being fibreglass, it’ll be relatively easy to repair. I’ll probably cut out a circle, then add glass sheet to the inside and outside to repair it.
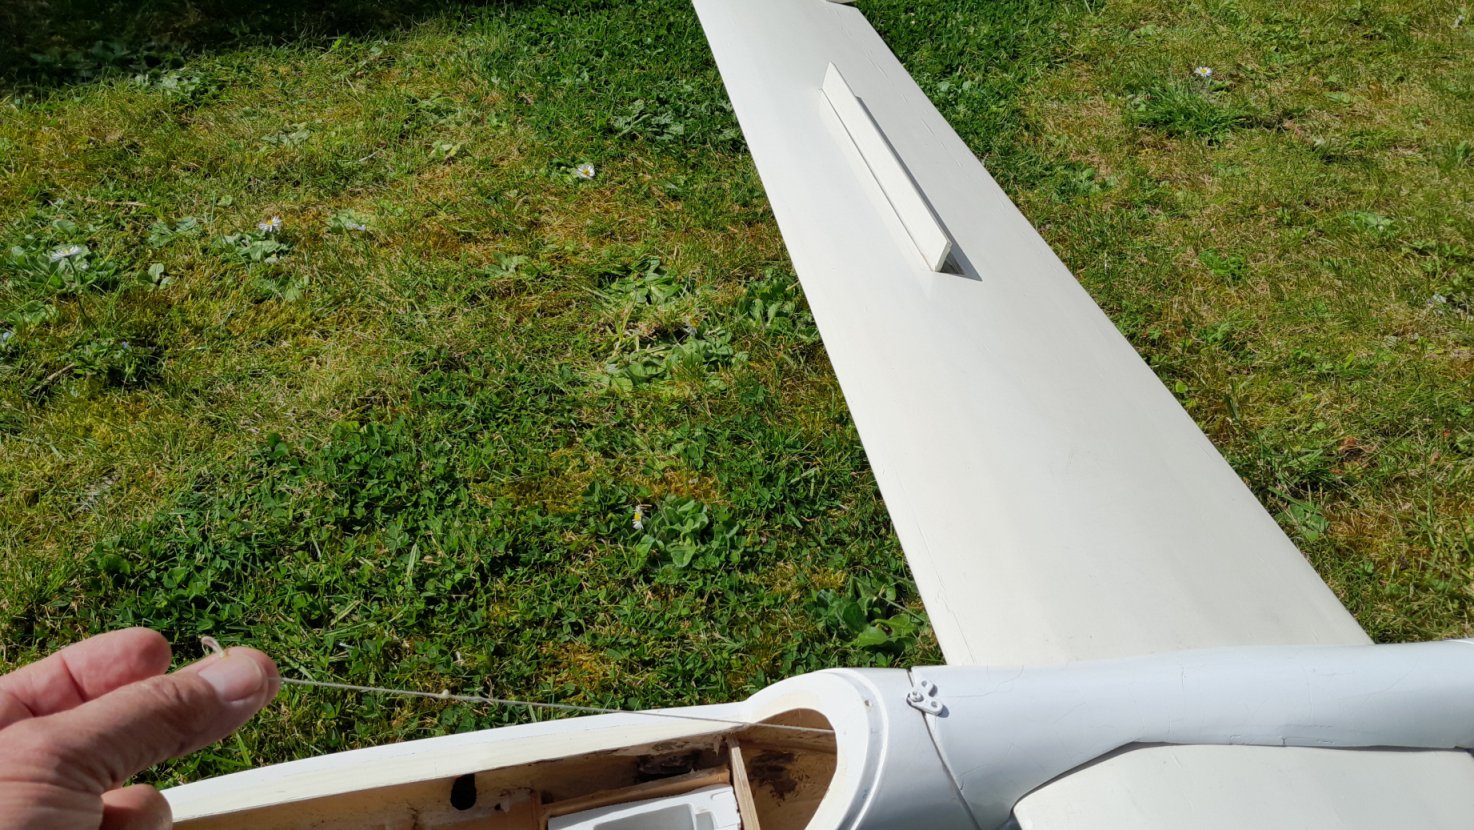
The spoilers are an old design that uses a “pull-string” to open them which comes off a servo in the front of the cockpit area. They don’t appear to have any designed-in channel or tube to run in, which is odd as they run around a 90 degree angle to reach from the wing roots to the servo in the nose. They also don’t have any method to keep them closed when not in use. John Campkin remembered a similar system in one of his models but also remembered that it has an elastic return strip under each spoiler – which the Alchemist doesn’t have.
My question to readers would be: does the air flow over the wing lift the surface or push it closed? I’m thinking that lift on the top of the wing would be likely to try to open the spoiler as it’s just a simple flap. My solution will be to do the same as I did with my Slingsby T21, adding a mini servo under each spoiler with a direct linkage rod in a slot to control all movement.
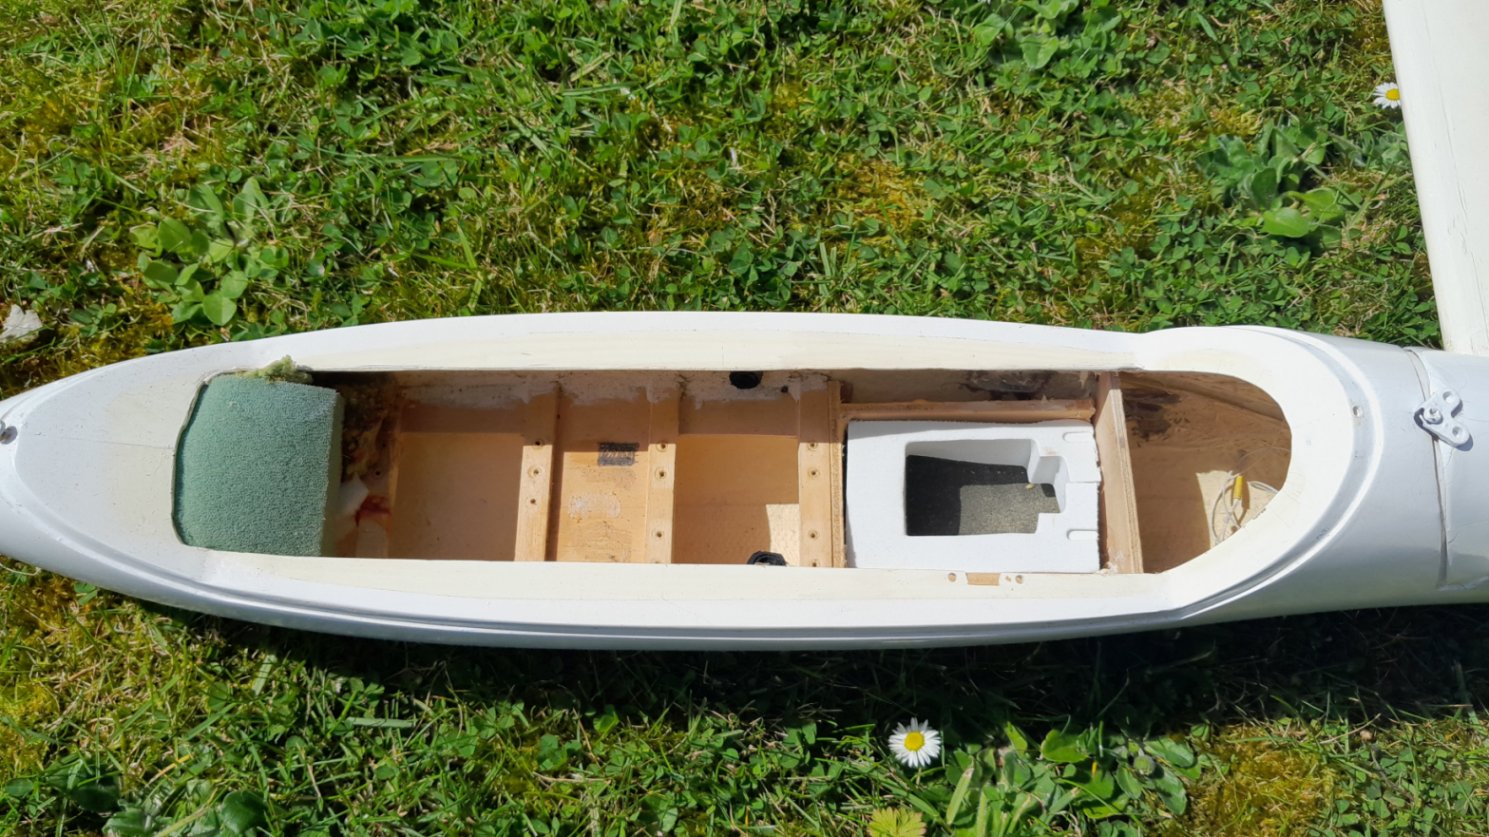
The layout in the cockpit is: Spoiler servo at the nose, 2 V-tail servos in the middle, then the RX
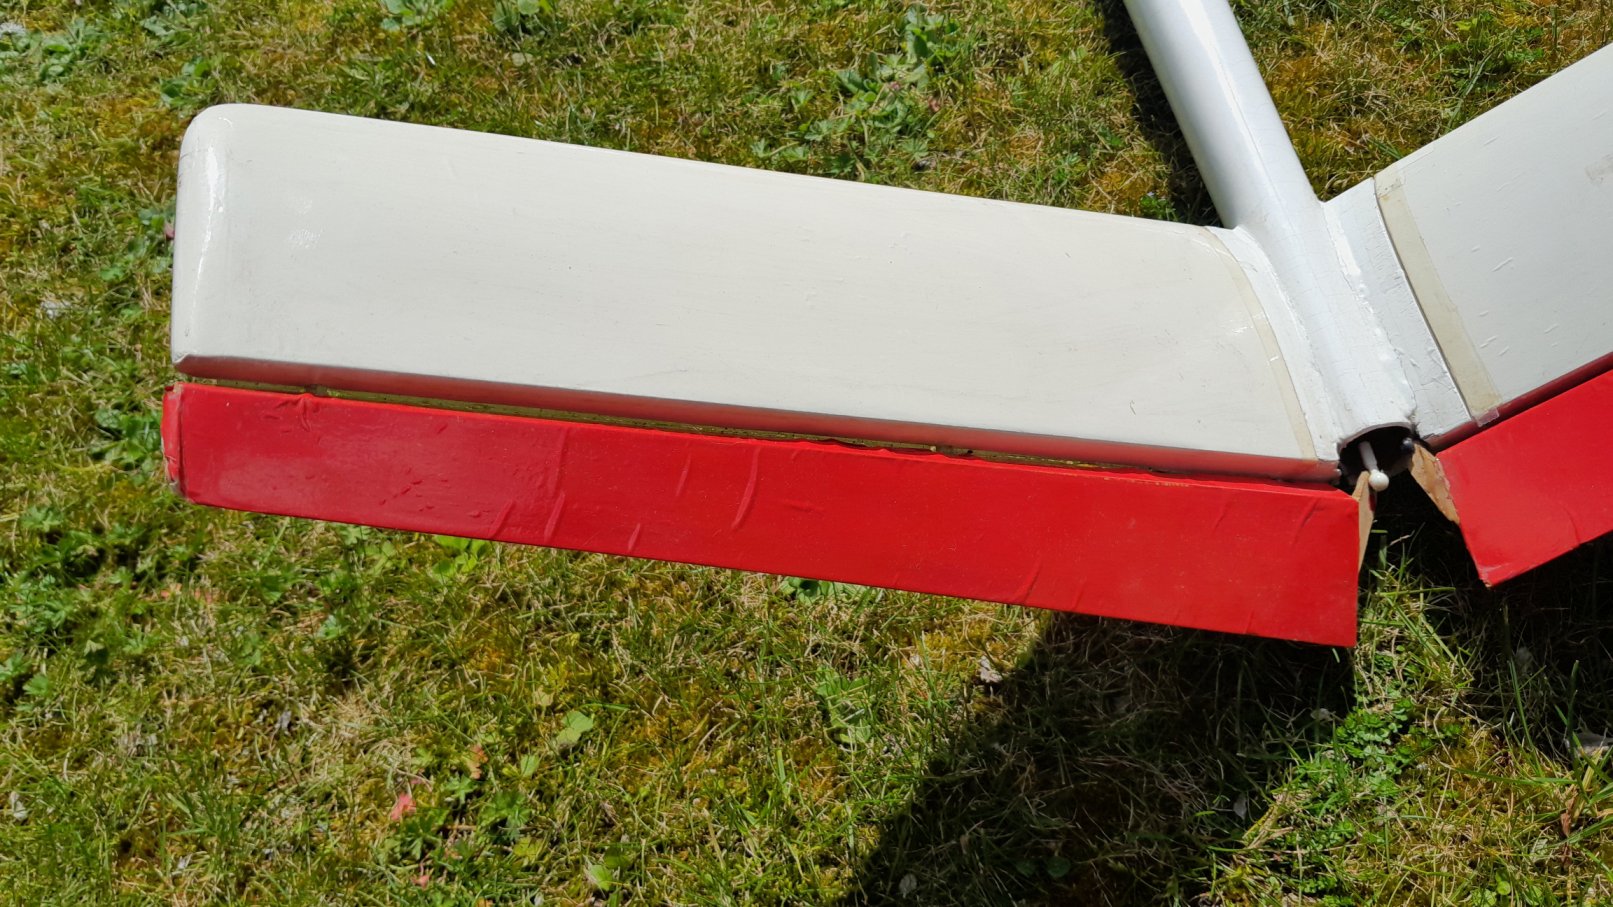
The V-tails are hinged on the underside, which doesn’t look very nice, or give a smooth air flow over the top of the tails, so I’ll add a Magic Tape strip along the hinge line to streamline it. The servo snakes use ball & socket joints on the underside, which is why it’s hinged on the underside.
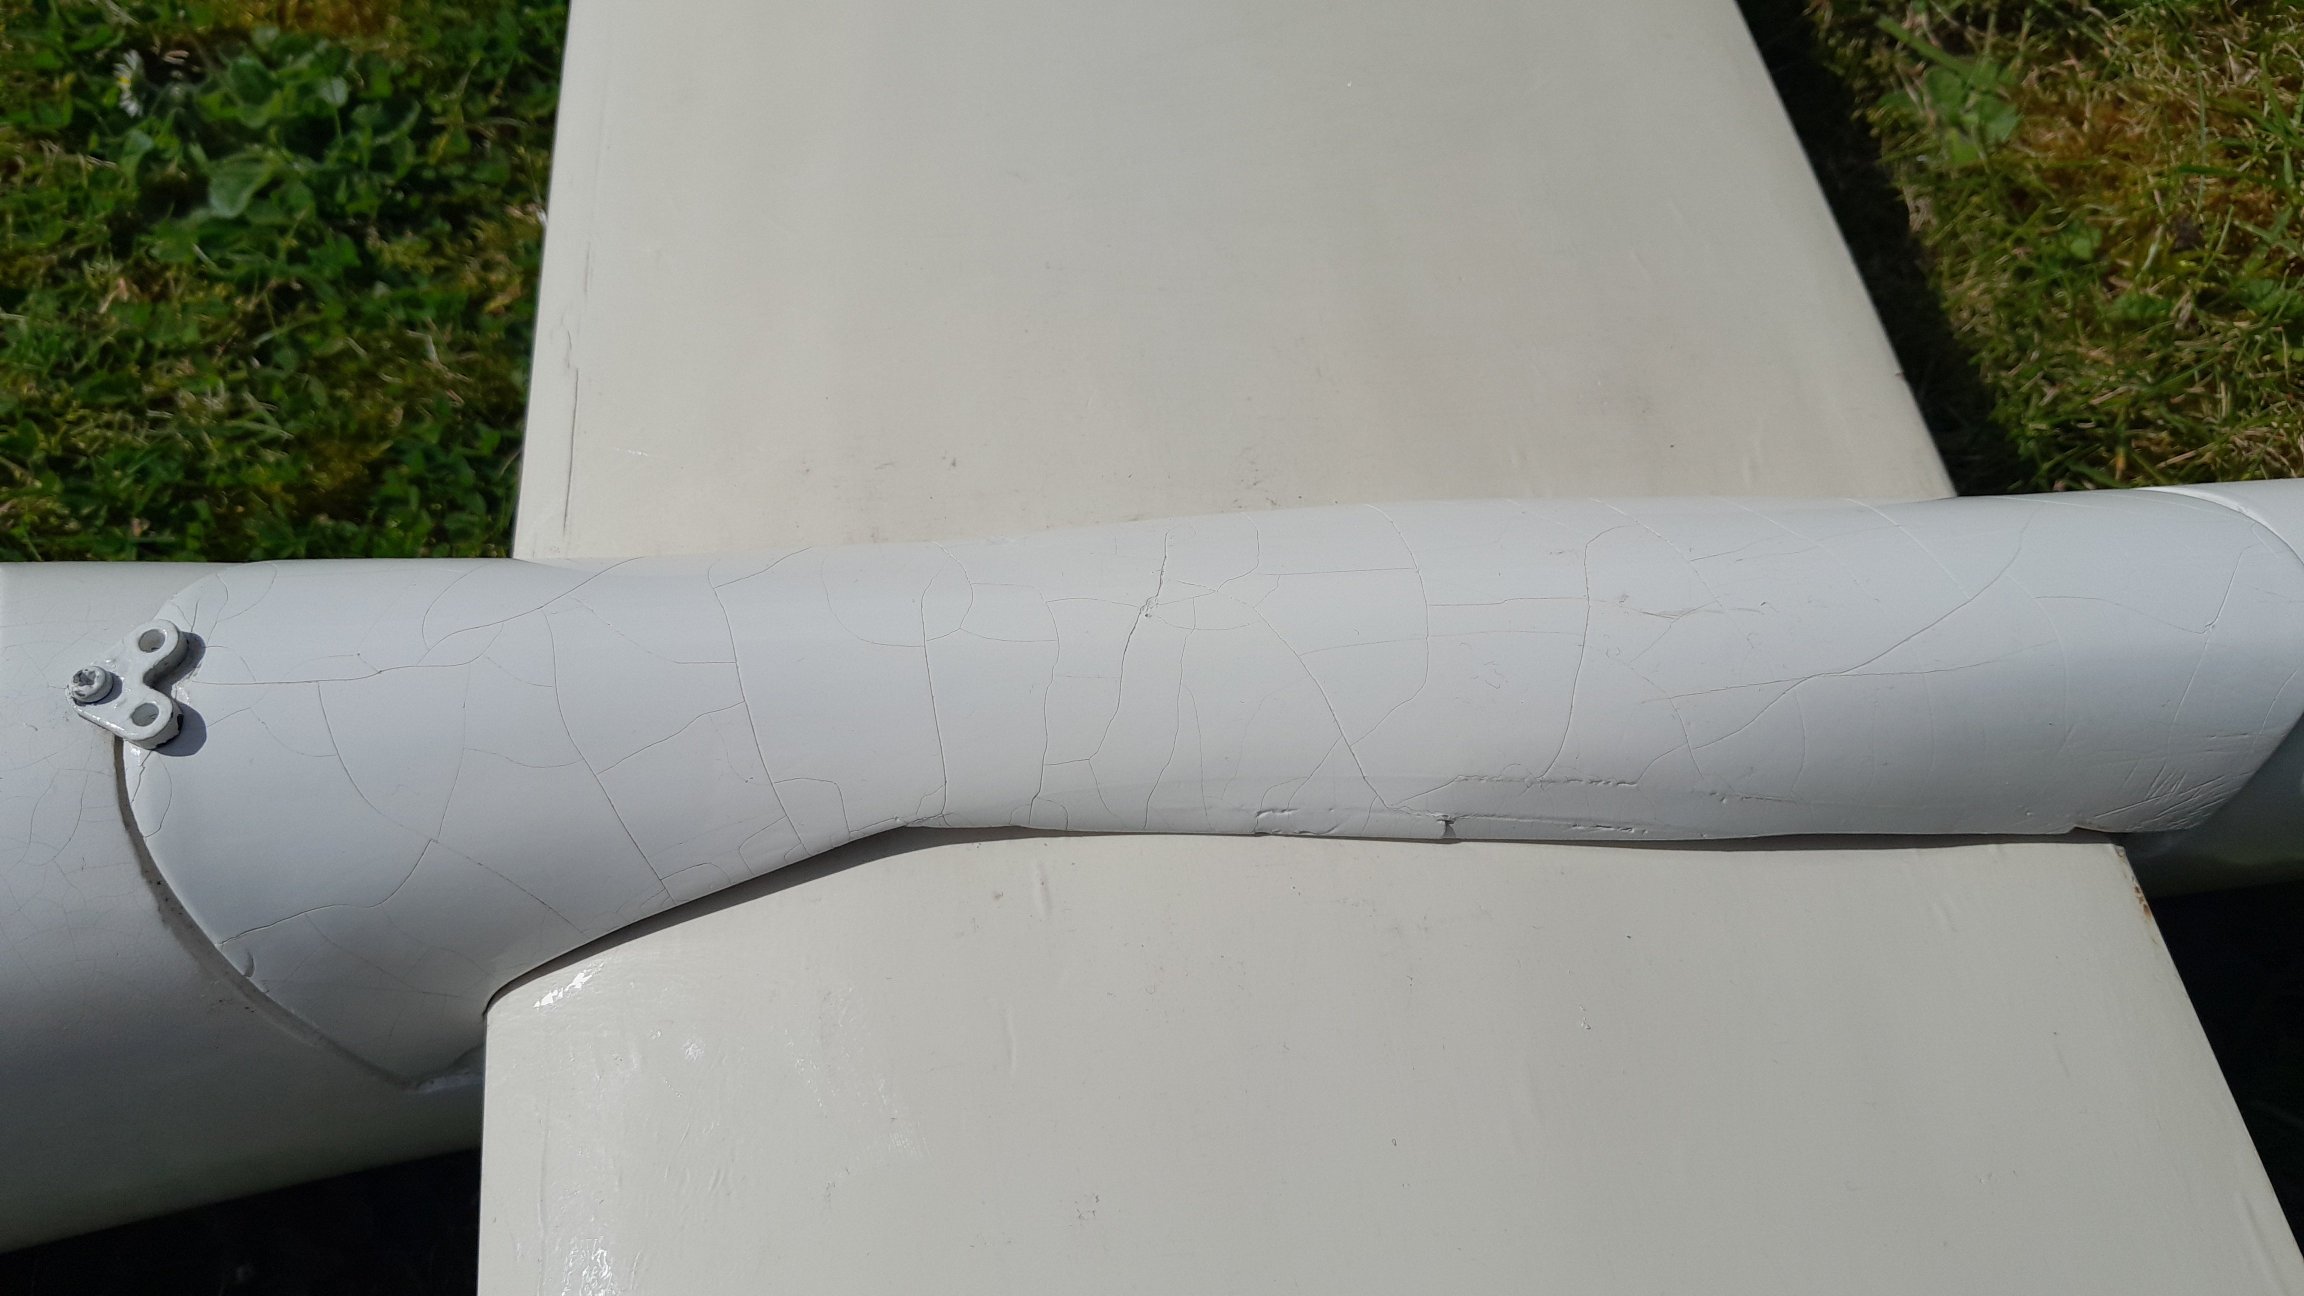
It may not be easily seen in this picture, but all of the fibreglass parts are severely crazed, so they will all need a lot of preparation time stripping off all of the cracked gel coat and then re-applying it and more than likely, several coats of paint
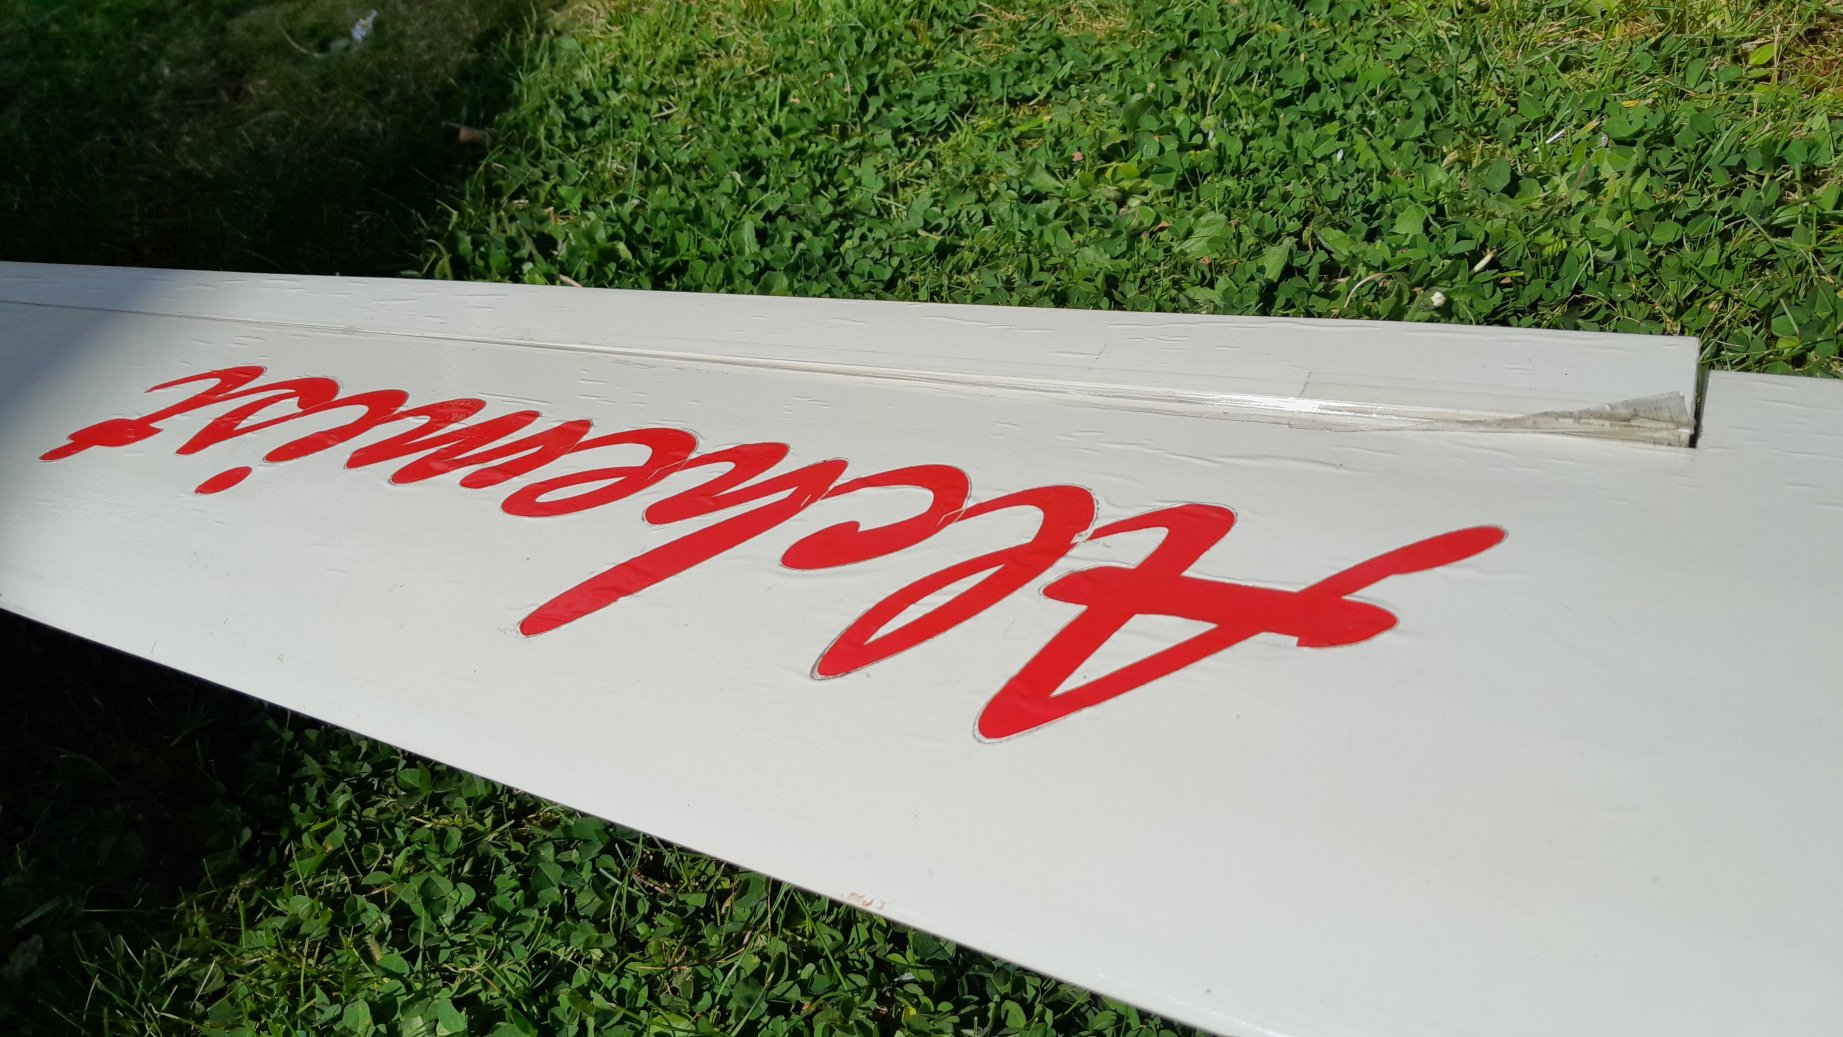
I have yet to identify the type of wing construction. Due to the age of the model it is likely to be either balsa-veneered on balsa ribs or possibly a foam core veneered over. This will be significant when I try to cut the main spar joiner in and when deciding if I can route servo cables through the wings from the spoilers. I plan to re-cover the wings with iron-on covering anyway, so slots cut and repairs will be hidden.
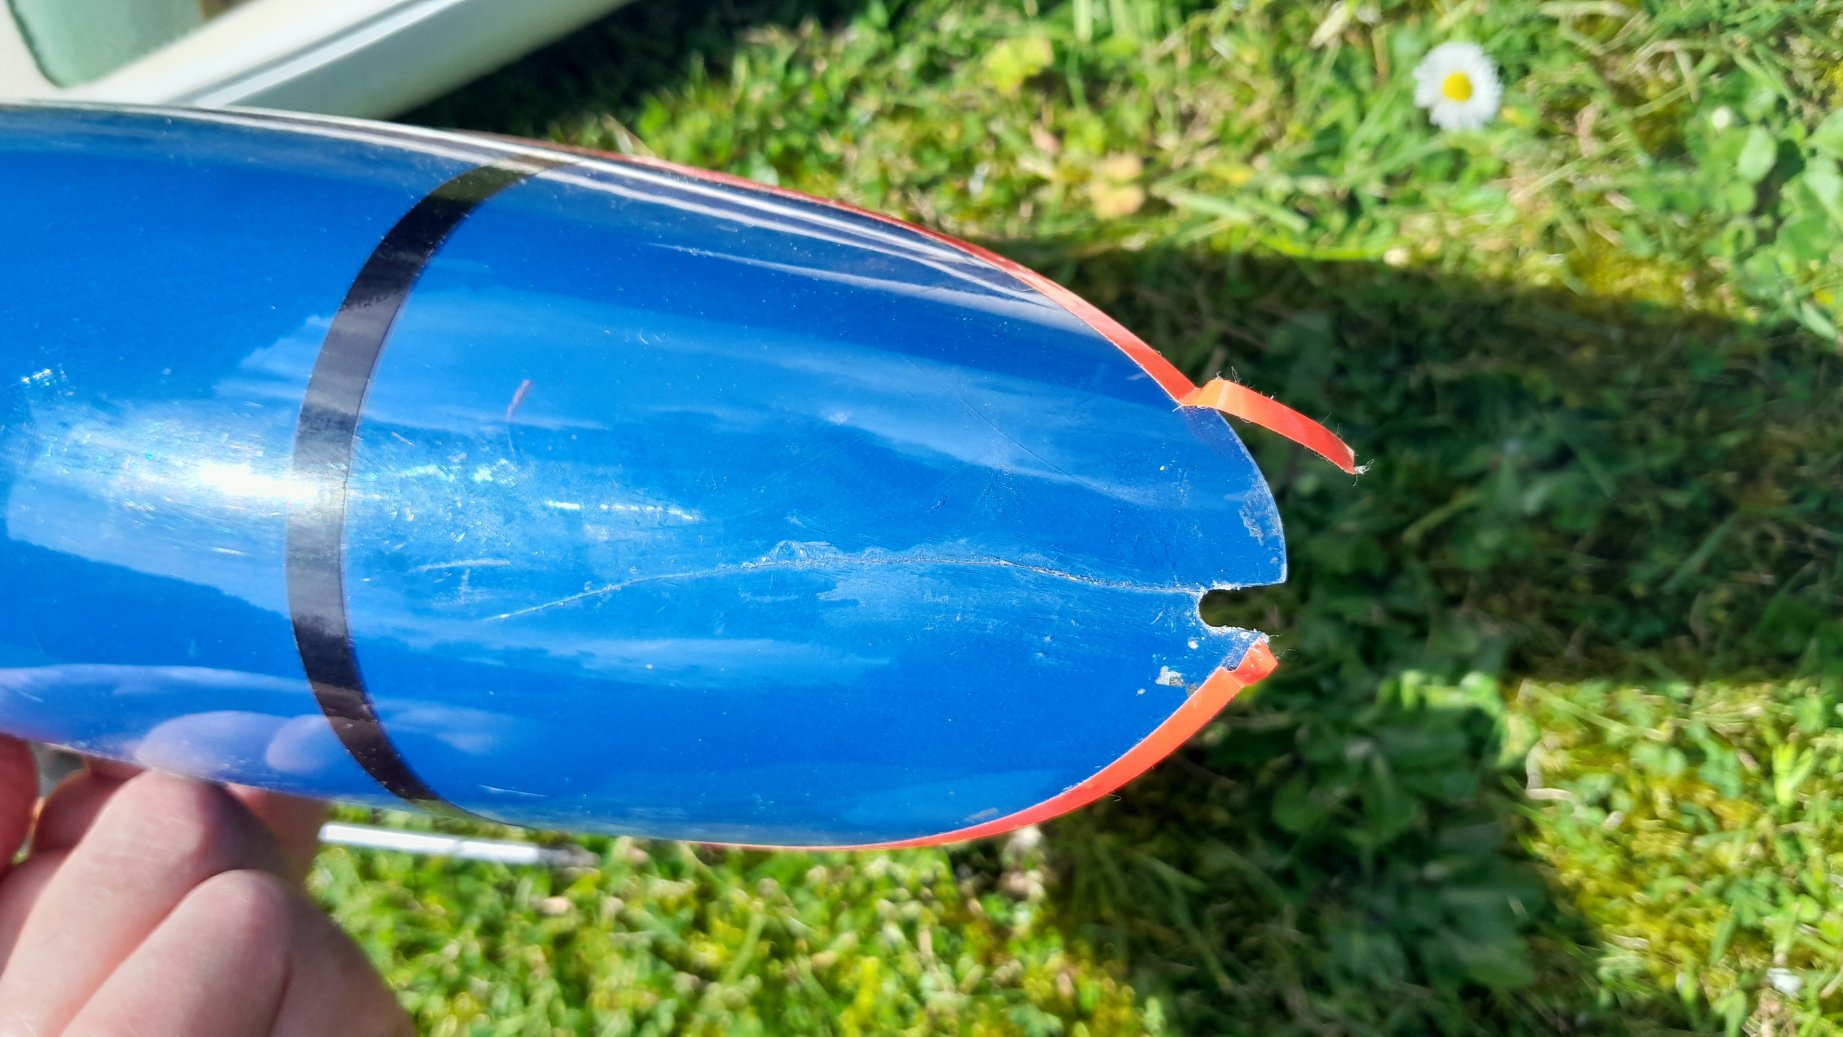
The canopy is cracked, but as it is coloured, I can repair it and then just colour it on the outside to hide the repair.
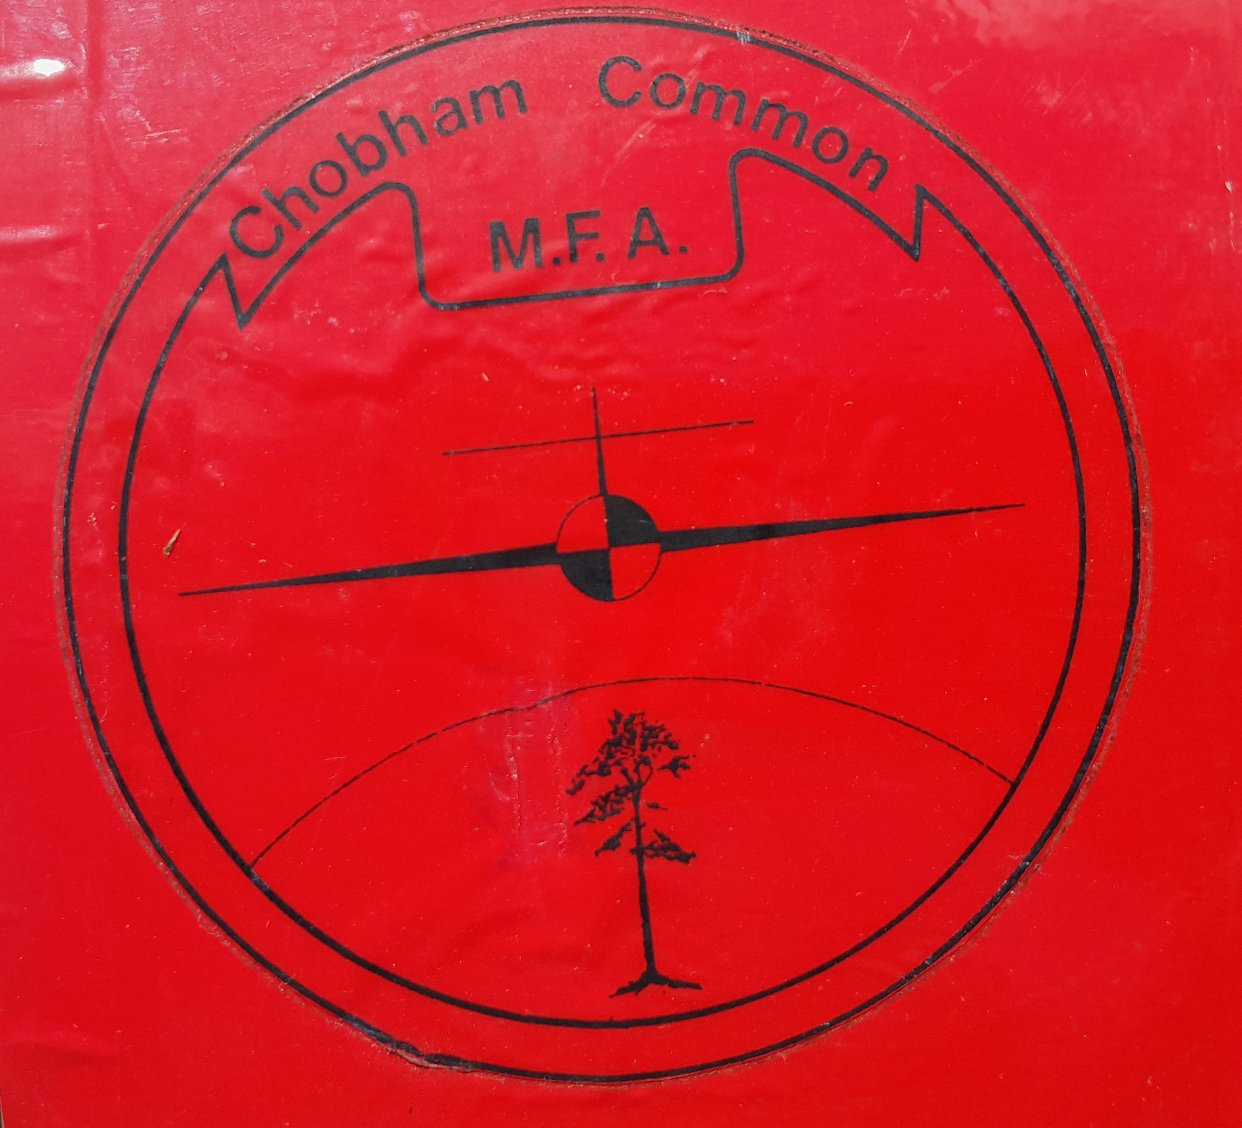
The irony is that, having bought the plane from a guy in Lincolnshire, it actually originated from Chobham which would have been an easy pick-up for me!
I’ll send in an update article as and when this model gets restored. I think that it’s a home build as I can’t find anything on an “Alchemist” on the web. So I have no idea how well it’ll fly. So I may well get the basics done on it and then maiden it in its crazed fibreglass state before going to the trouble of getting a good finish on it – just in case it flies like a brick….