|
Christchurch and District Model Flying Club |
|||||
|
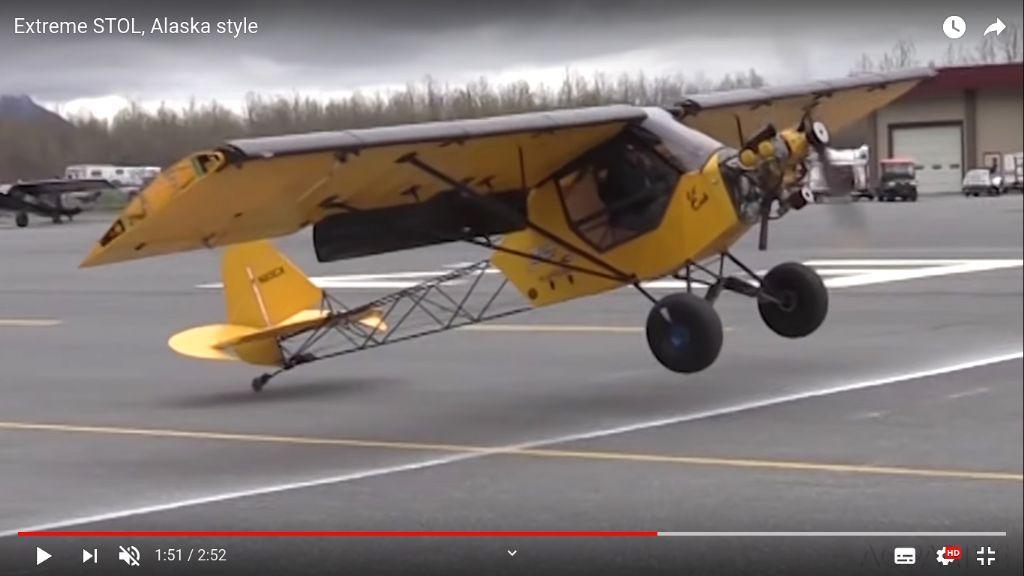
Li'l Cub – Build Blog Part 1 of 3 by Tim Calvert This is the story behind my build of Li'l Cub which many of you will have seen displayed at Club meeting in various stages of the build. It’s a 55inch Span model designed by Peter Miller and was a free plan in RCM&E in 2019. Mine was built from Peter’s original hand drawn plans which he let me have prior to it being selected for publication. L'il Cub is based on a Piper Cub J3 which has been stripped of all necessary parts to reduce weight, a specially designed high lift wing, no wing tips, Carbon fibre Flaps and Fixed Wing Slats, and covered in Yellow Oratex.
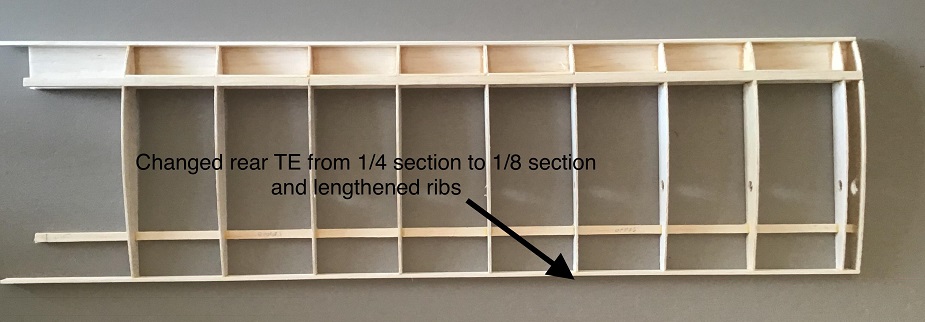
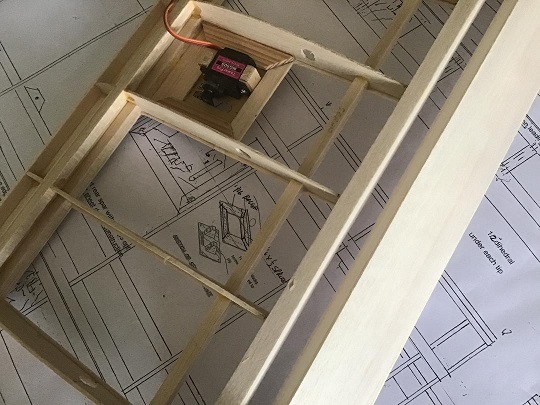
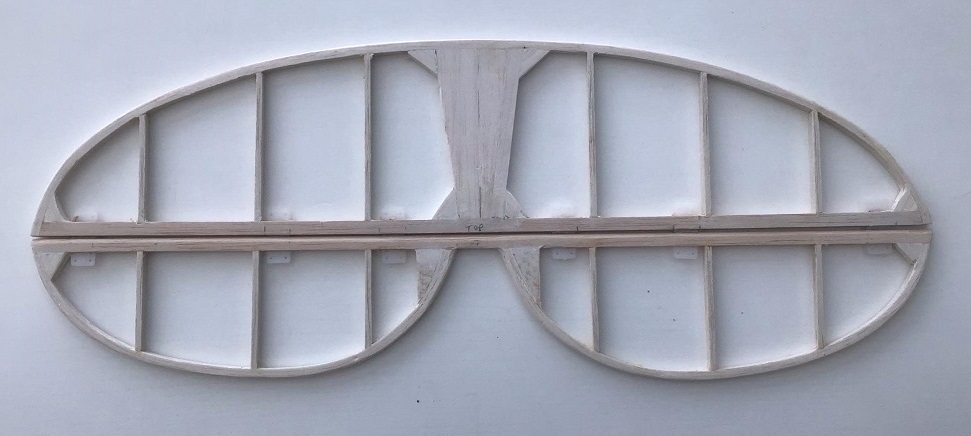
Lil Cub II (Afterburner) went on to win the STOL competition in Valdez again in 2014 and the first STOL competition at AirVentures in Oshkosh in 2014. In 2017 the aircraft set a new STOL world record at Valdez, with a take off in 13 feet 8 inches, and a landing in 10 feet 5 inches. In 2018, the aircraft set a new STOL world record at Valdez, with a take off in 11 ft 0 inches. The Build Peter Miller has a history of producing plans with simplified and robust construction methods for Sport Scale models with excellent flying characteristics. L'il Cub is no different, however it does incorporate a few innovative techniques to help replicate the unusual nature of the original. My intention was to follow Peter’s Plan, but introduce further adaptations to further reduce weight and produce a more scale like appearance. It was also an opportunity to hone my skills with 3D printing, in particular getting to grips with 3D design to design and print scale parts and components. I have been struggling with 3D design for a while and the project seemed to be a good way to enhance the learning. Build Basics I will not cover the build in detail, as the majority is fairly generic RC aircraft build, but to cover the general construction, innovations and adaptations. Wing Construction The wing structure follows typical build convention, being a traditional D Box, capped balsa wing ribs with ¼ inch square Spars (hard Balsa in my case). It is fitted with both Ailerons and Flaps and a full width Fixed Wing Slat on the leading edge. The end rib is a 3d design and print, rather than the fretted ply in the plan, with a bit more added scale like detail.
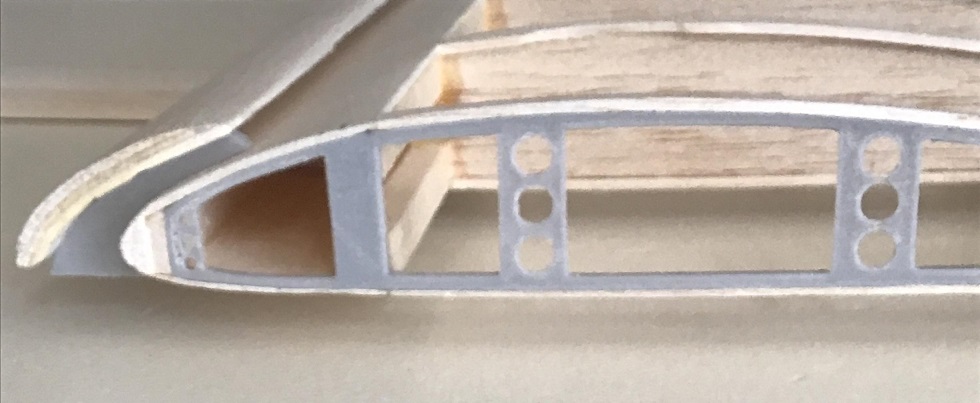
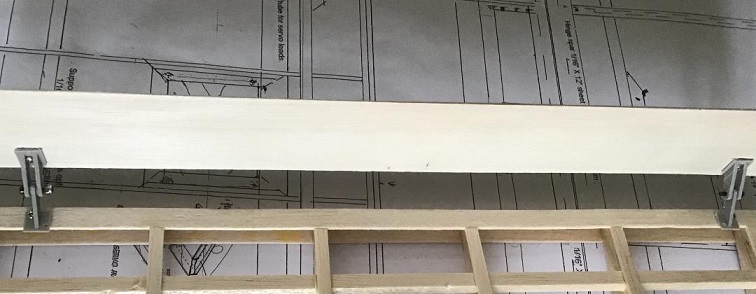
The Challenging part of the build was to make and fix the Wing Slat. Following Peter’s build instructions, I covered the dbox section of the wing in masking tape, and using full width (each wing half) of 1/16 and 1/32 Balsa laminations soaked in water to make them flexible and coated in copious quantities of Titebond Original glue were bent round the leading edge, pins, masking tape and the use of a stretchy gauze bandage ( A very useful Mike Roach Hack technique) to hold the balsa Slats in shape while the glue sets, the result once sanded was a slat matching the profile of the wing. The plans called for 10 Slats mounts cut out of 3mm light ply, 10 mins of 3D design time, and 15 mins printing time had a set of perfectly profiled parts saving hows of laborious cutting and sanding. The mounts were cyanoed to the wing after covering and the slats then cyanoed to the wing.
Ailerons were top hinged using std pinned hinges. For the Flaps is designed my own 3D printed hinges and control horns, to provide a Fowler Flap , the design is based on the flap hinges used on the Fun Cub which work well.
Fuselage Construction
The fuselage construction is a Ply/Balsa box for the main cabin, the plans called for 1/32 ply and 3mm Balsa sandwich, I used 1/64 Ply (as I had plenty), and the resulting structure is plenty strong enough. A tip is to use a contact glue and not (as I did!!!) a water based glue (Titebond) for making the composite Ply/Balsa fuselage sided, they bow when drying due to the different characteristics of ply and balsa, they flattened out ok, with dampening the surfaces and some heavy weights leaving them to dry on the Kitchen range.
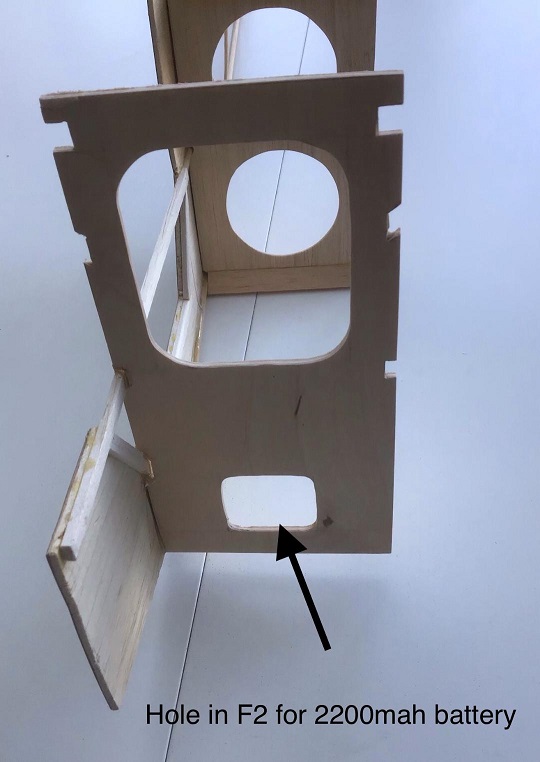
I deviated from the plans by locating the battery wholly within the forward fuselage, incorporating a battery hatch on the underside and making a hole in F2 to slide in the battery, a battery tray runs from F1 to F3, which also acts as the pilots perch. I angled F3 and reshaped the top to replicate the seat back for the pilot.
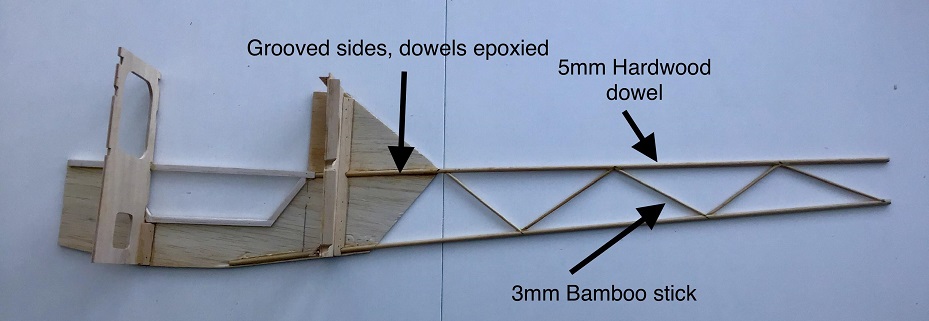
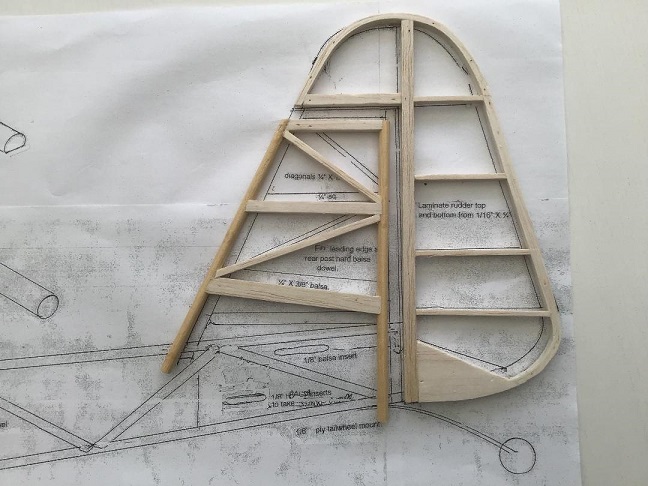
L'll Cub has an open uncovered structure, This was replicated in the Plans using 6mm Dowel. I decided to reproduce a more scale like appearance by the use of a thinner 5mm hardwood dowel for the longerons and 3mm Cross struts made with 3mm Bamboo BBQ sticks. Actual construction turned out simpler than I anticipated. Using quick setting epoxy each fuselage side was made flat on the workboard into a basic ladder construction using only the 5mm longerons and main 5mm side struts. The main fuselage was then glued up into a box and the longerons glued at the tail and the 5mm cross struts added, these needed clamped up to maintain the correct shape while the glue dried. The 3mm cross struts were then added, again using fillets of quick setting epoxy. The resulting structure is light and amazingly strong, the 3mm bamboo is stronger and more rigid than the 5mm hardwood dowels. Tail Construction Using 6mm depron outlines of the Rudder, Elevator and Tail, 4 x 1/16 balsa laminated outlines were made. The Fin posts are made from 6mm dowel.
|
|||||
