|
Christchurch and District Model Flying Club |
|
THE TOPFLITE SPITFIRE by Jeff Hobby |
|
BACKGROUND I have always been interested in radio controlled planes. Started out back in the eighties with an attempt at control line which ended in a bit of a disaster then moved on to RC a few years later but back then it was very different to now. I spent hours building a model, taking great care to build to what I considered as a nice model. Then, with a lack of time and the right sort of help learning to fly it, that all ended going home with a carrier bag full of more pieces of wood than it started out with so I became somewhat disillusioned with it all. |
|
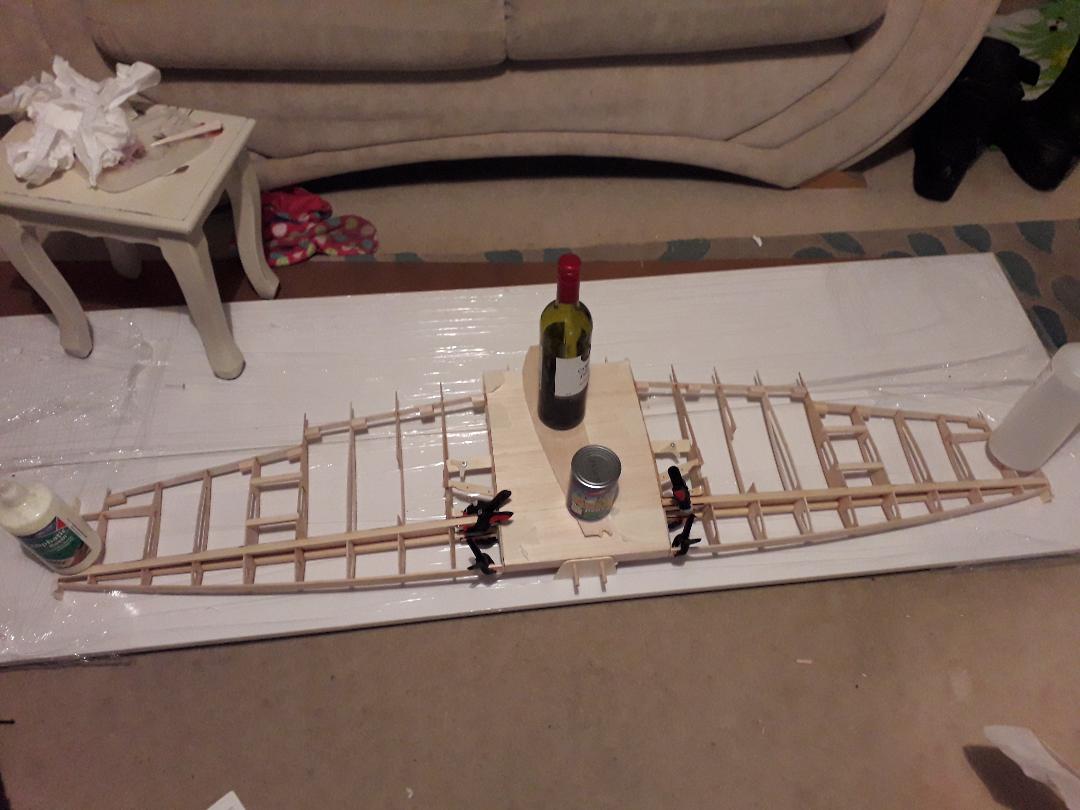
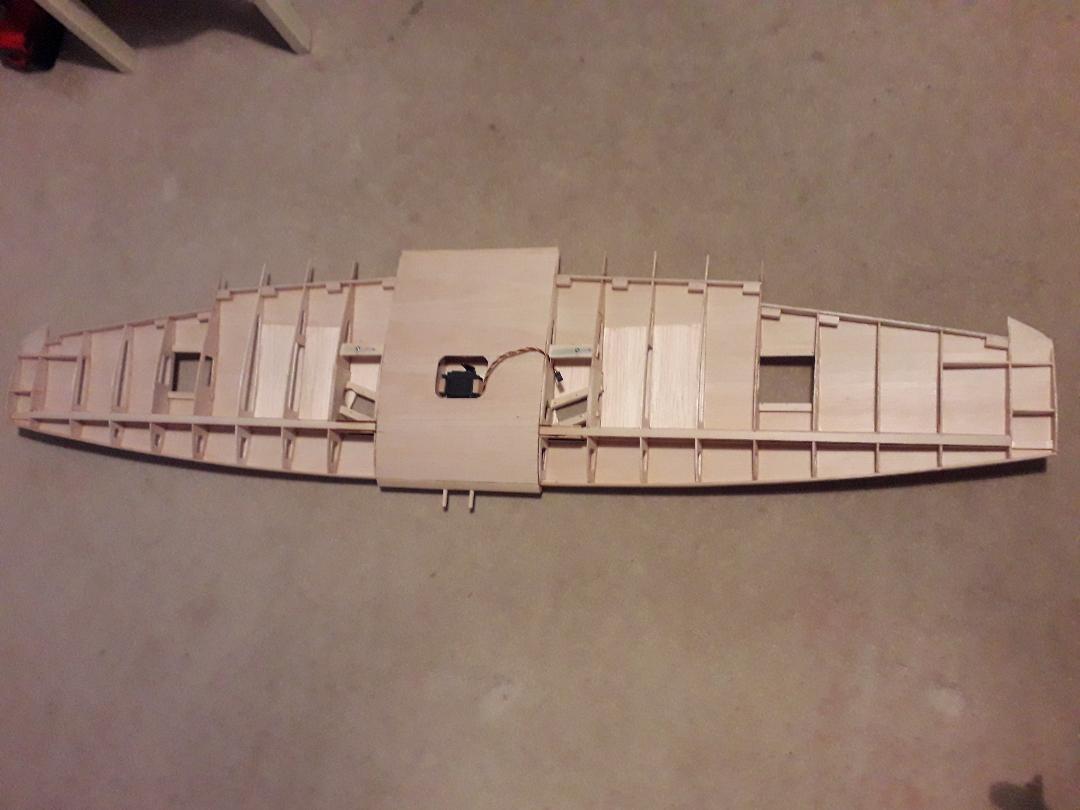
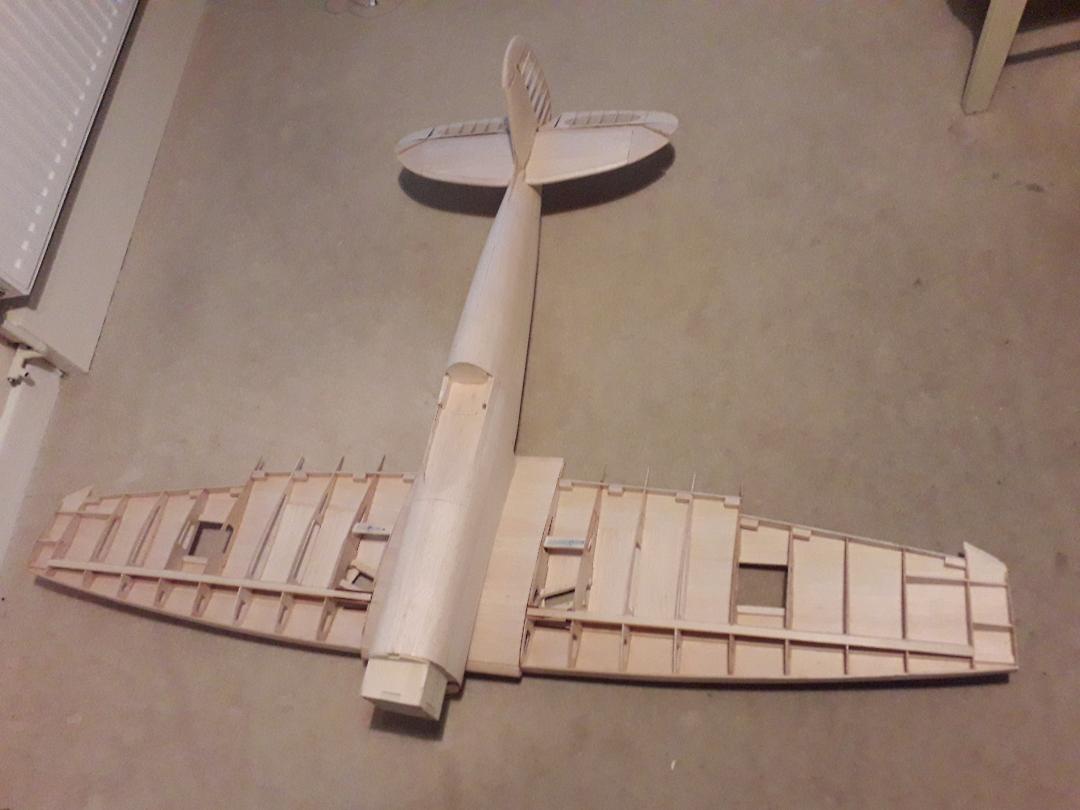
BUILDING After purchasing the actual kit I decided my preferred power was to be four stroke petrol and I plumped for the Saito FG-14C. Next were the retracts. The kit was suggesting Robart air retracts. I was not sure about the reliability of the use of the air retracts and seriously considered electric but after chatting with a few people about this I decided to go with the Robart 605 and 188 control kit. The servos were the next, with so many varieties to choose from, but decided on Hitec HS-645MG all round. The fuel tank was to be a DU-BRO 12oz. After all of those major parts I then turned my attention to the adhesives and ended with quite a comprehensive selection of Aliphatic Resin, thin, medium and thick CA, 5 minute and 30 minute epoxy and Isopropyl Alcohol. After all of the shopping, for now at least, I invested in a SLEC balsa building board sat on a sheet of 1/2” ply. Various tools were required including scalpel, razor plane, T pins, metre straight edge, 3” square, razor saw and various clamps. Let the building begin. The instructions have been very good and start off with building the horizontal stab, not what I had expected but I think, as much as anything, starts the build using methods and techniques on manageable size parts which are then used on larger, more difficult parts where the previous experiences gained are again put to good use. Next came the elevator followed by the vertical stab and rudder. These parts were made up of a selection of laser cut balsa ribs and strip balsa and the stabs were then sheeted with 1/16” balsa. I decided on using Robart 3mm pin hinges rather than the kit supplied CA hinges. Just for personal preference really. The next step was the left hand wing section. Again using laser cut balsa spars, laser cut ply strengthening and a mixture of strip balsa and basswood spars and finally sheeted with 1/16” balsa. I could certainly see at that point the sense of building the stabs first, it helped a lot. Other than the sheeting, medium CA was used for the majority of the bonding, allowing fairly quick building at some of the stages. The laser cut spars are complete with sections which act as a jig to give a nice flat job. After the left wing the right wing was built in the same way followed by the centre section. The three parts were then glued together using 30 minute epoxy. The sheeting was then applied. Included were various ply jig formers to assist accurate assembly of the complete wing and the worked very well. After sheeting the centre section and the underside of the outer sections, the retracts need to be fitted and the holes cut for the landing gear before sheeting the tops and fitting the flaps and ailerons.
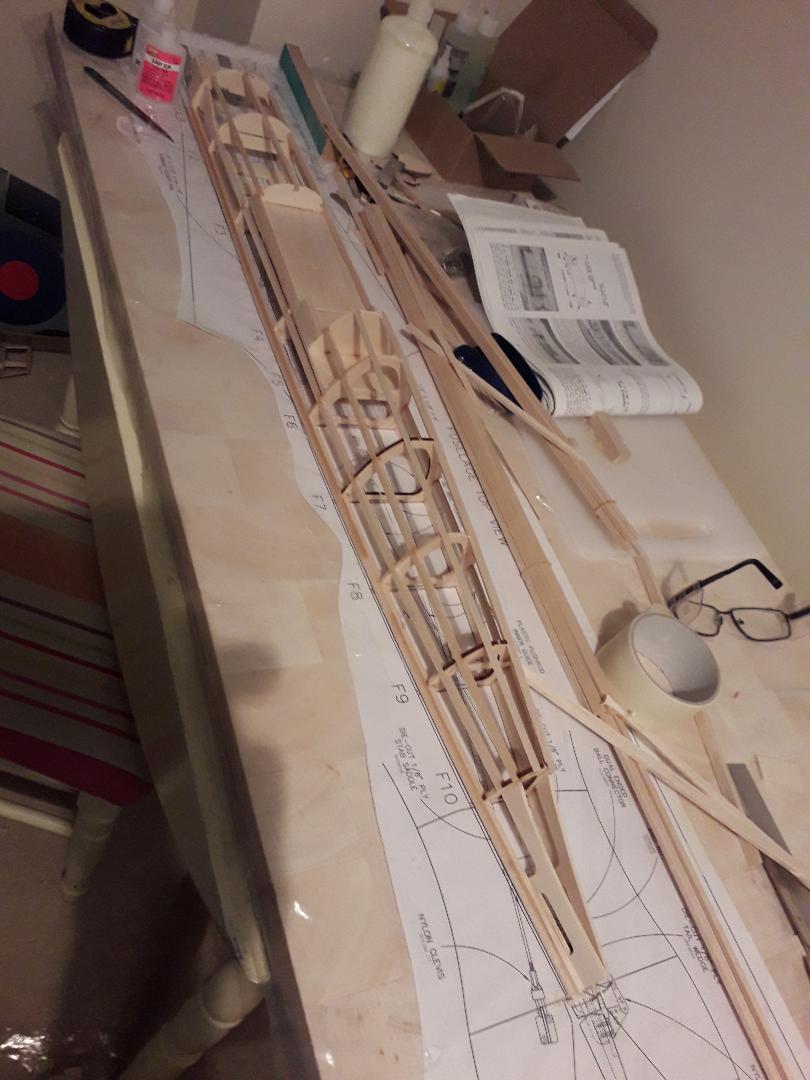
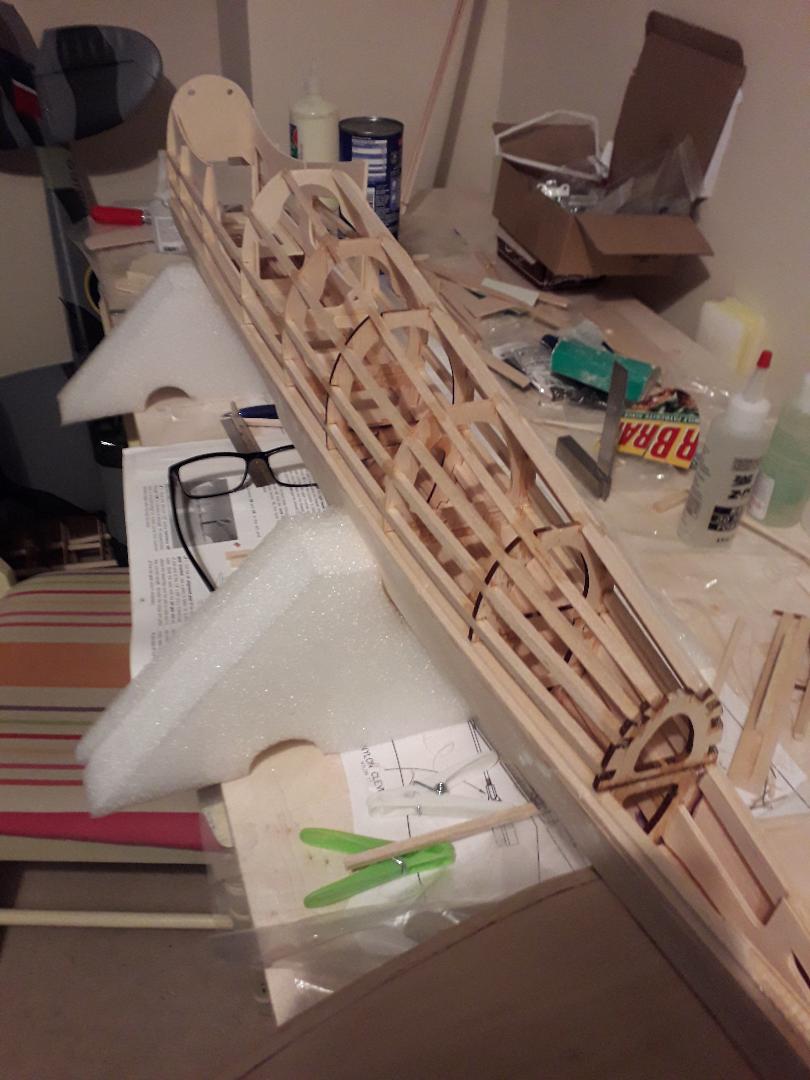
Next comes to the fuselage. This is started with the upper half assembled from laser cut balsa and ply formers and balsa stringers over the plan.
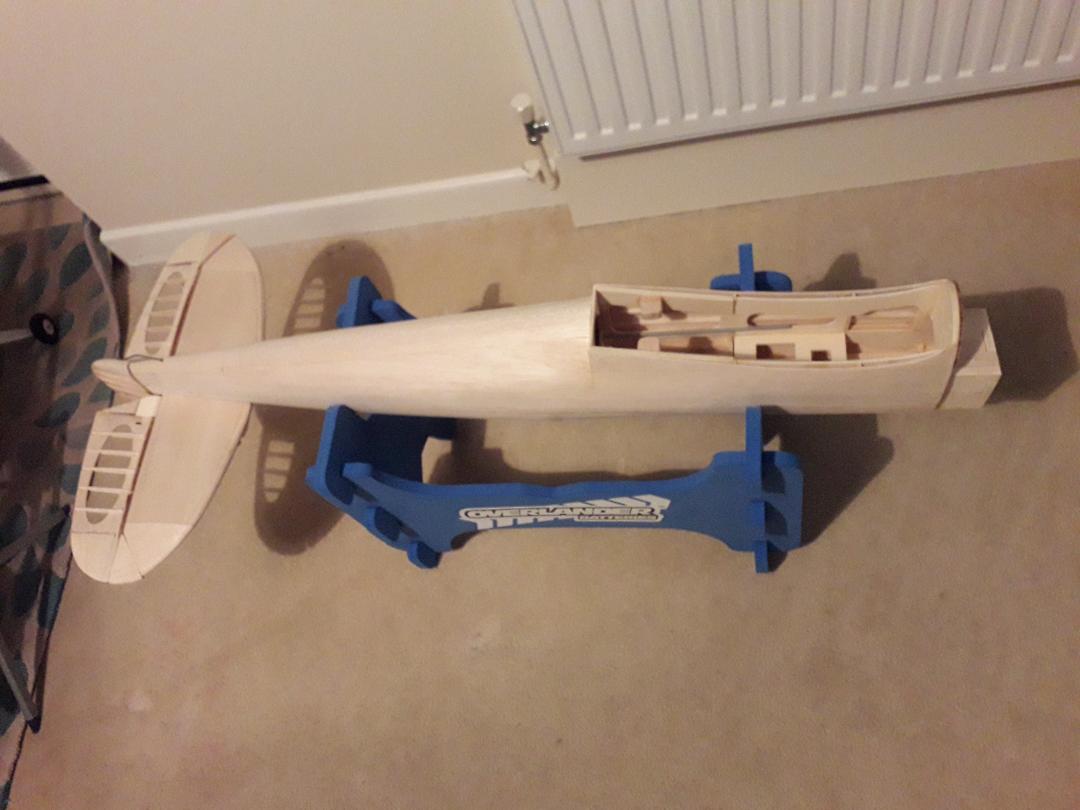
Finally sheeted with 3/32 balsa with the use of Isopropyl Alcohol to assist with forming the sheet around the tight curves without cracking. Once sheeted, the stabs are carefully set level and square. The fuselage was then removed from the building board and turned upside down, resting on a support stand, the lower section of the fuselage was then built onto the upper section and then sheeted. The whole fuselage is then ready for sanding ready for covering.
So, this is where I’m up to for now. Time to seriously consider covering materials and finish. Once again, so many choices! Time to go shopping once again. |
|
[Home] [Chairman's Chatter] [Beaufighter] [Typhoon] [Lest I forget] [Spot the diffeence] [Catch-Up] [TopFlite Spitfire] [Remove before use?] [Flying Site] [Tailpiece] |
