|
|
||||||||||||
|
Christchurch and District Model Flying Club |
|
THE SHORT SINGAPORE by mike Roach |
|||
|
You can see a bigger and better version of this page on the RC Groups website
|
|||
|
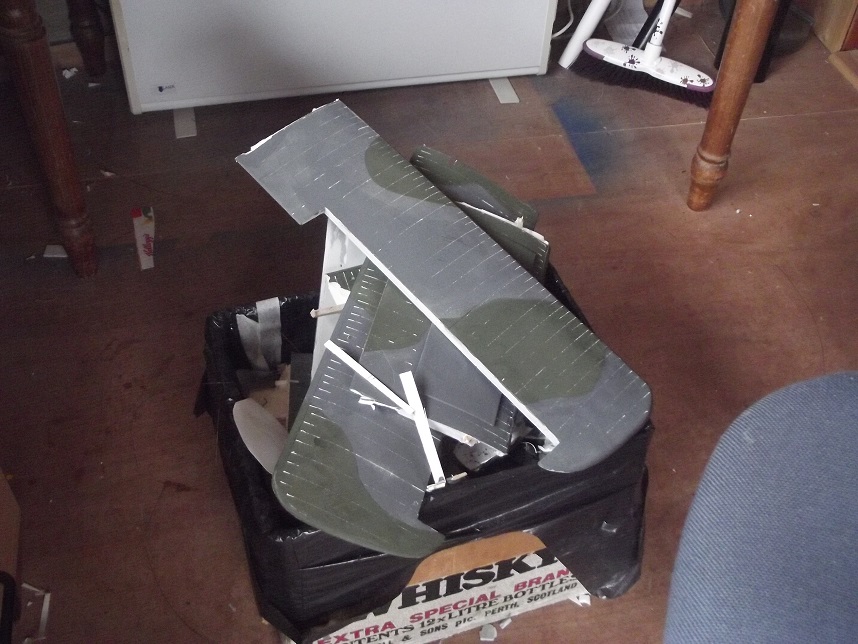
Full disclosure time: I have already built this model but on its first flight (at Strawberry Field) it lost control (*) and dashed though the only barbed wire fence in the vicinity. I salvaged the fuselage and tail group, as well as most of the hardware. This lived on the naughty shelf for a year or so until I felt it had learned its lesson, so two months ago I glued up the spars for both sets of wings and cut out the wing lower skins from 3mm depron.
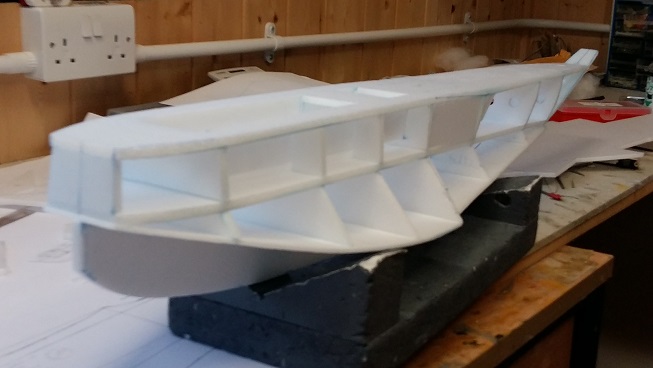
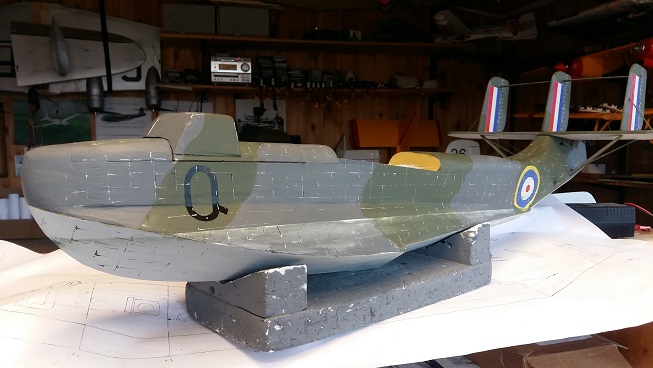
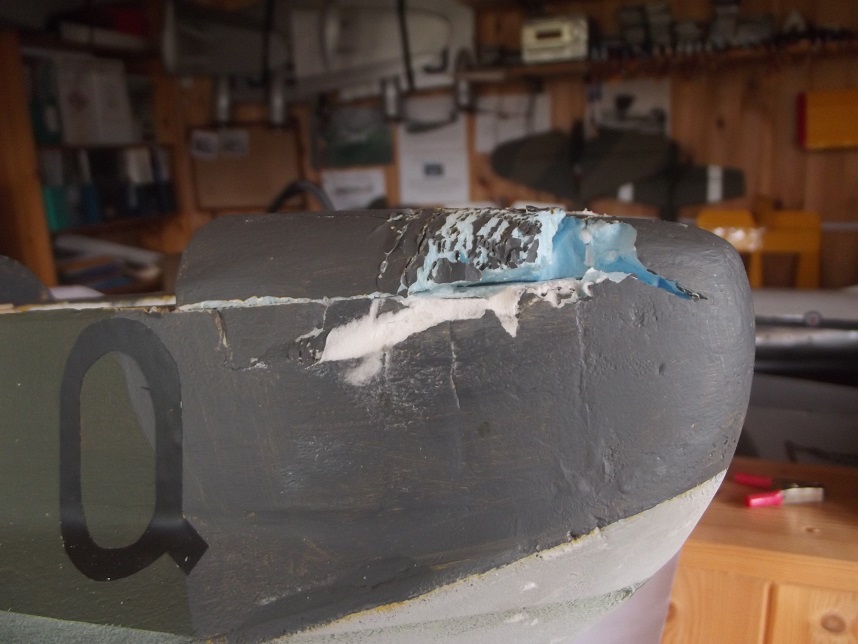
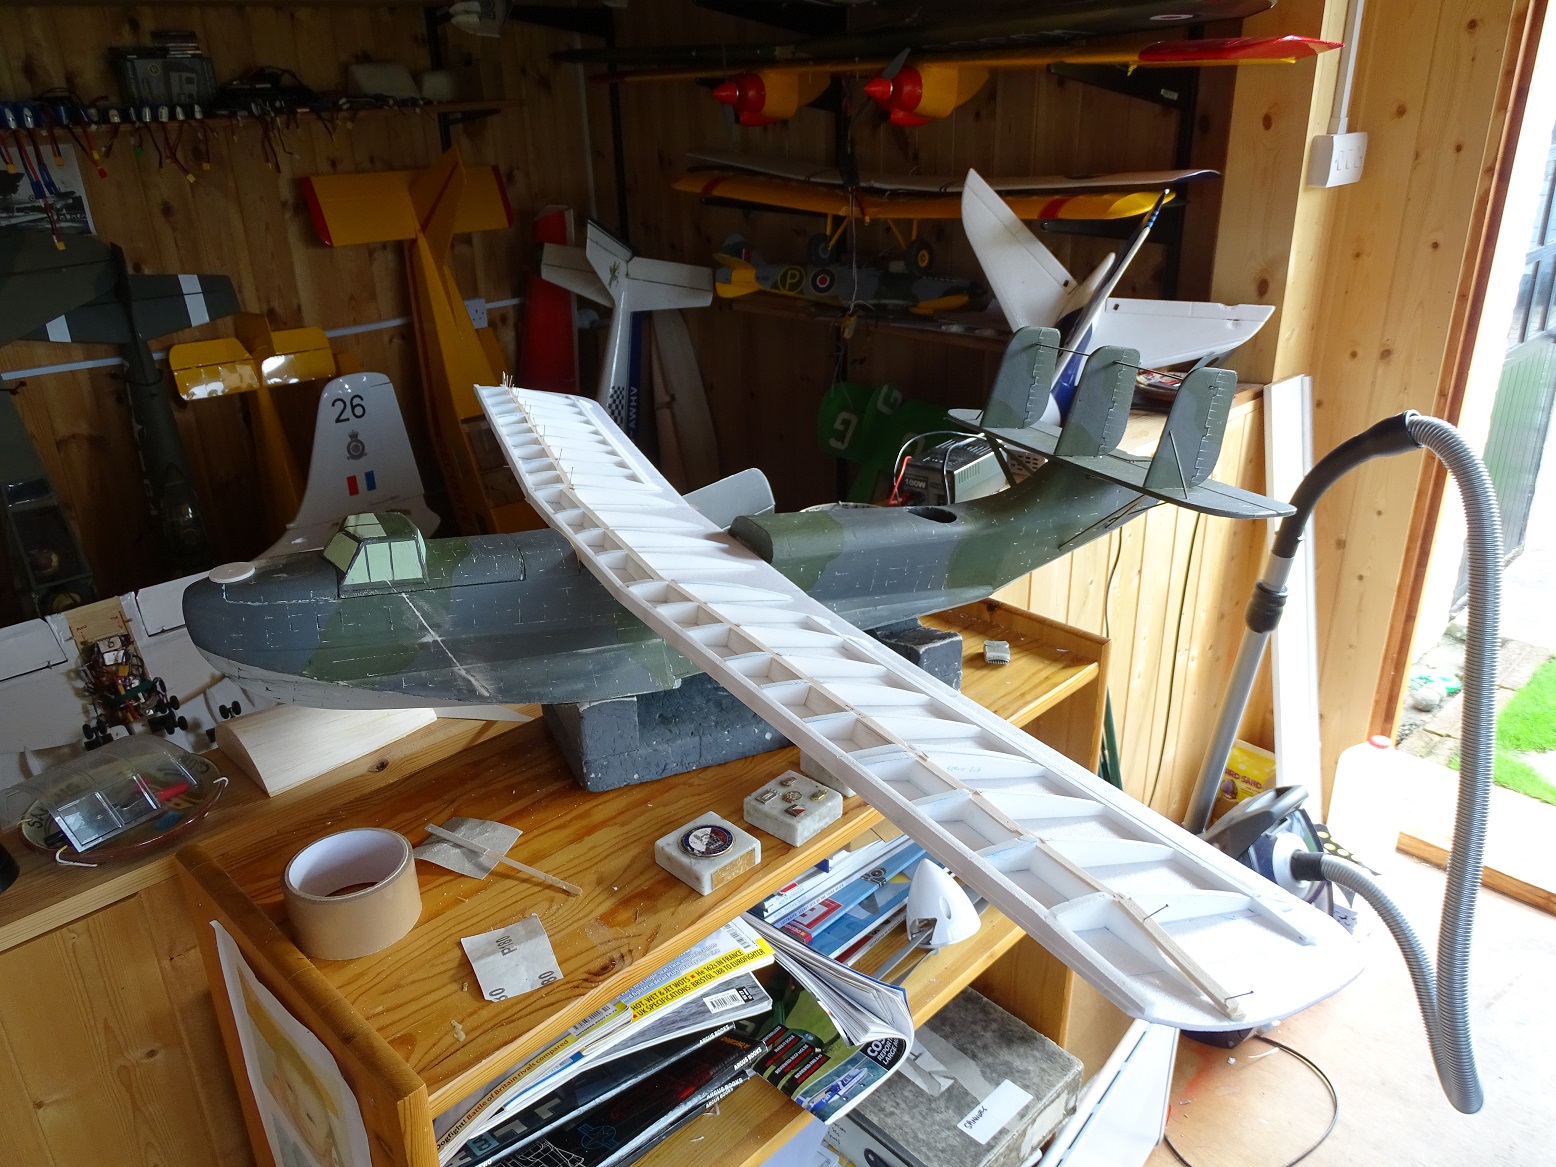
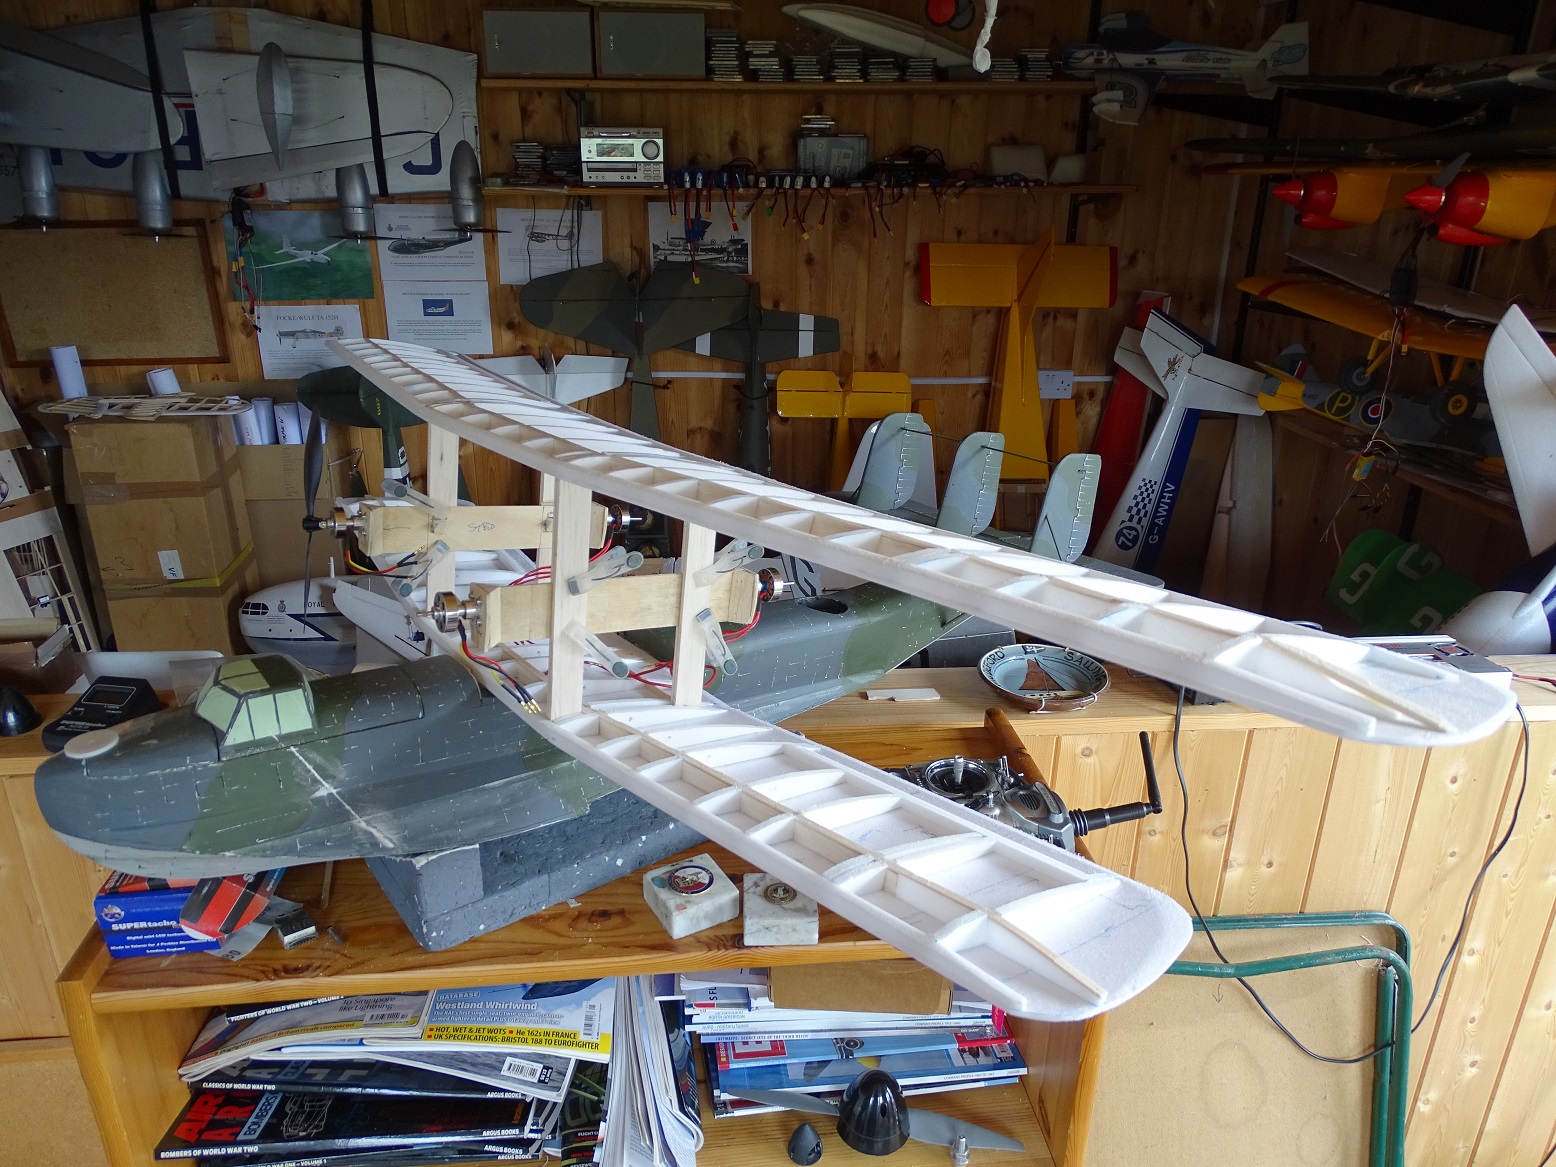
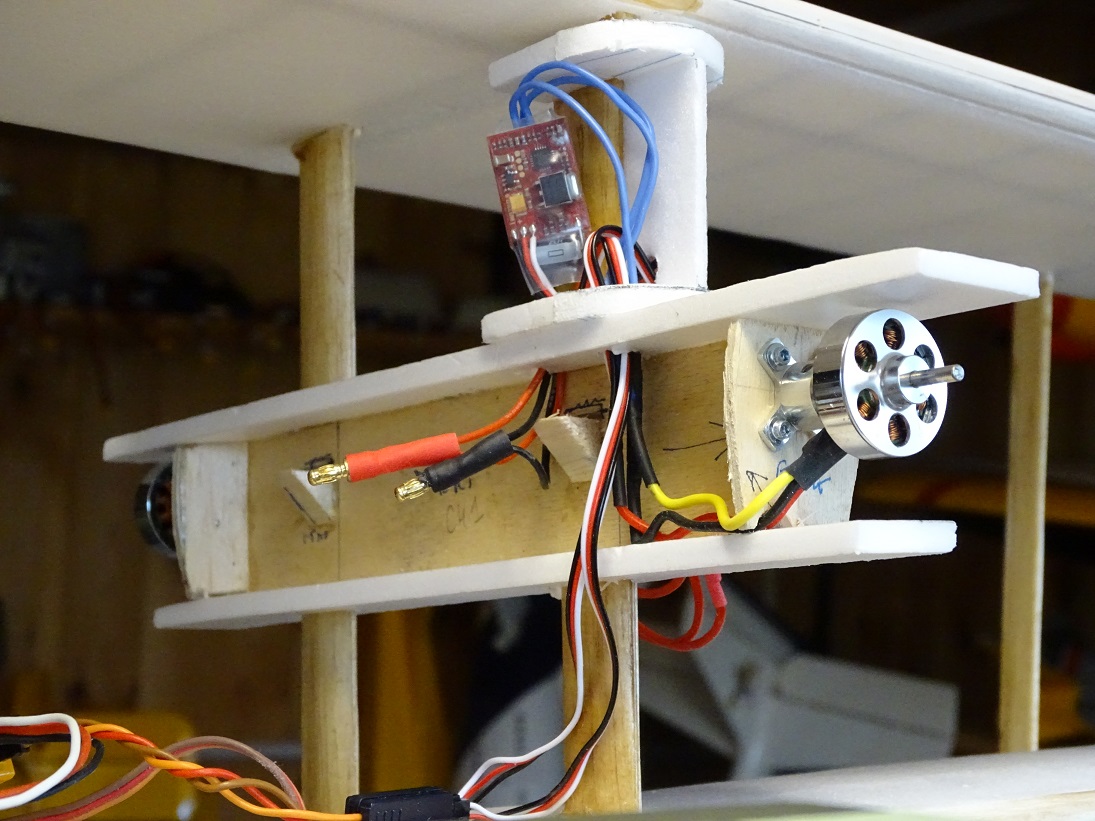
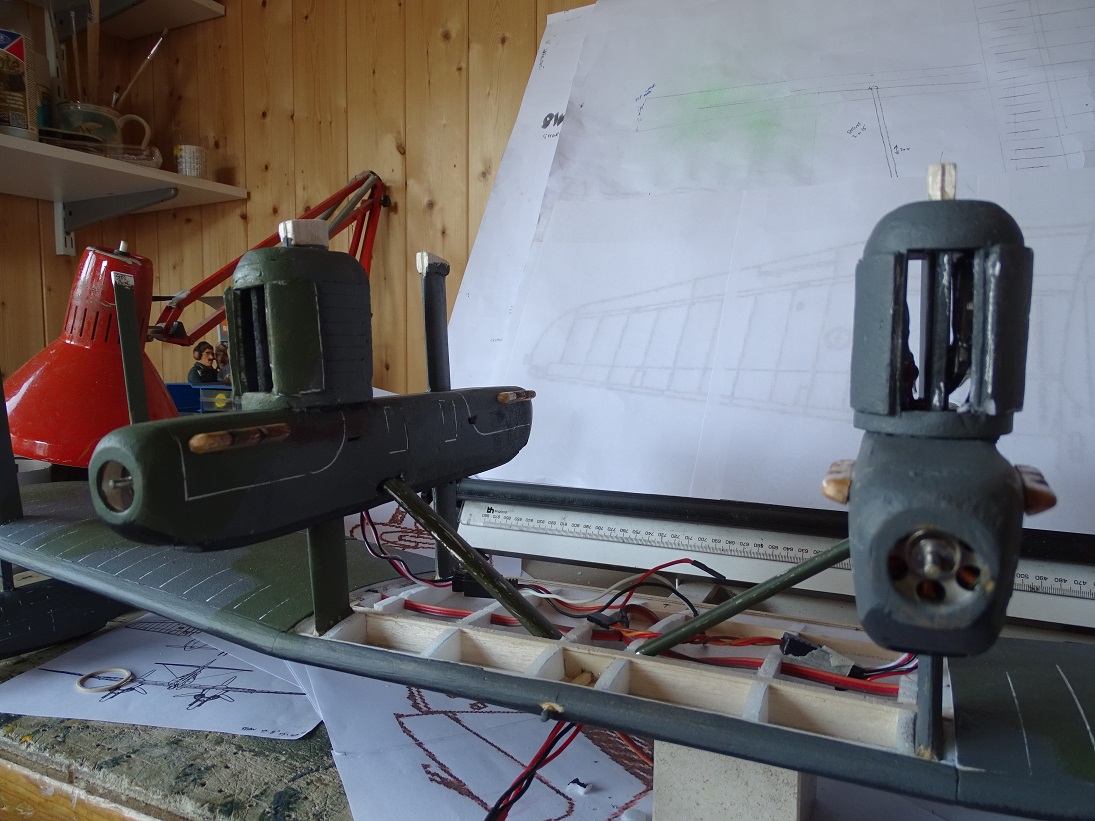
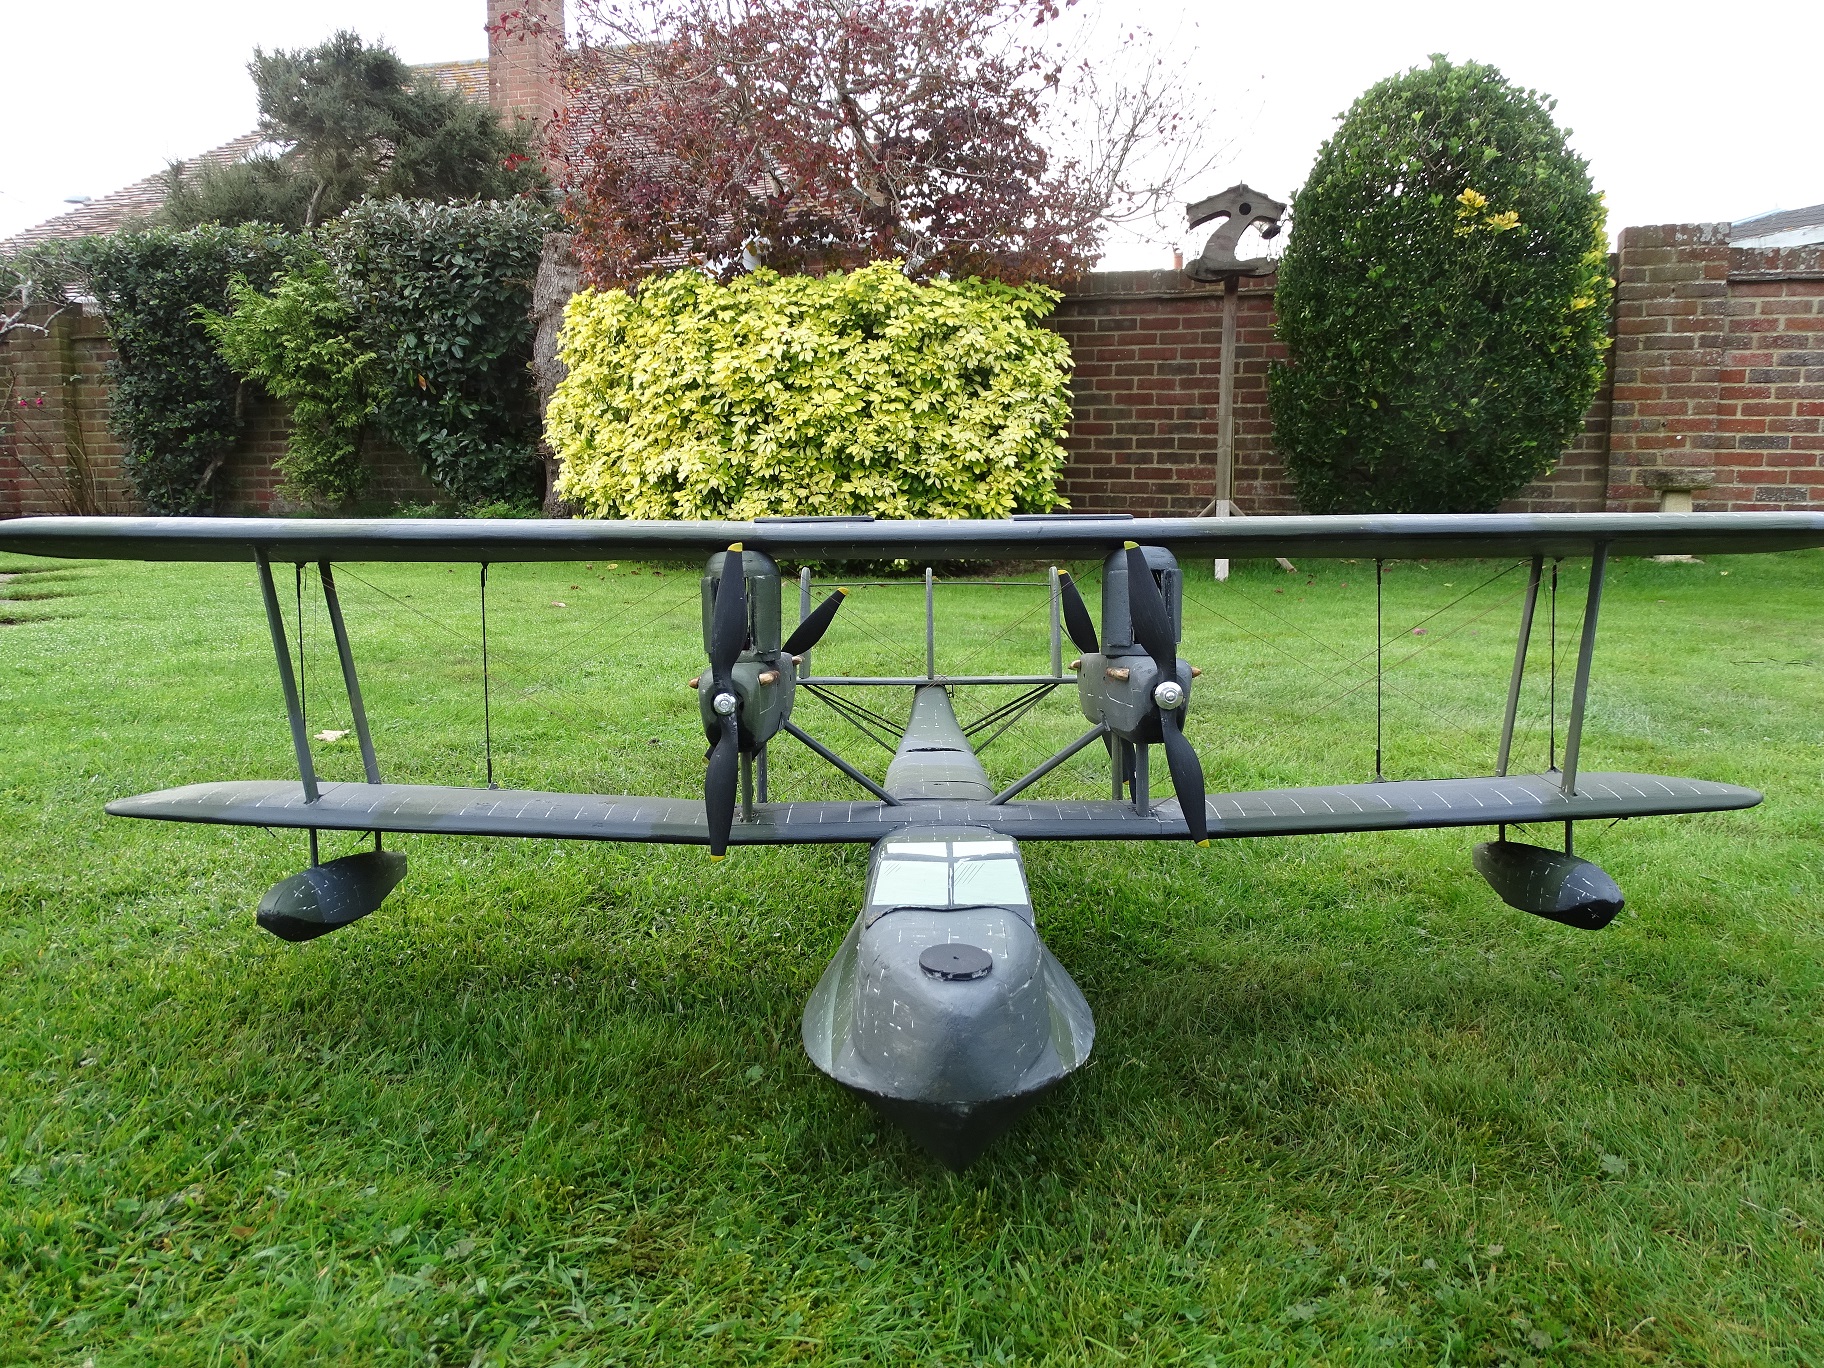
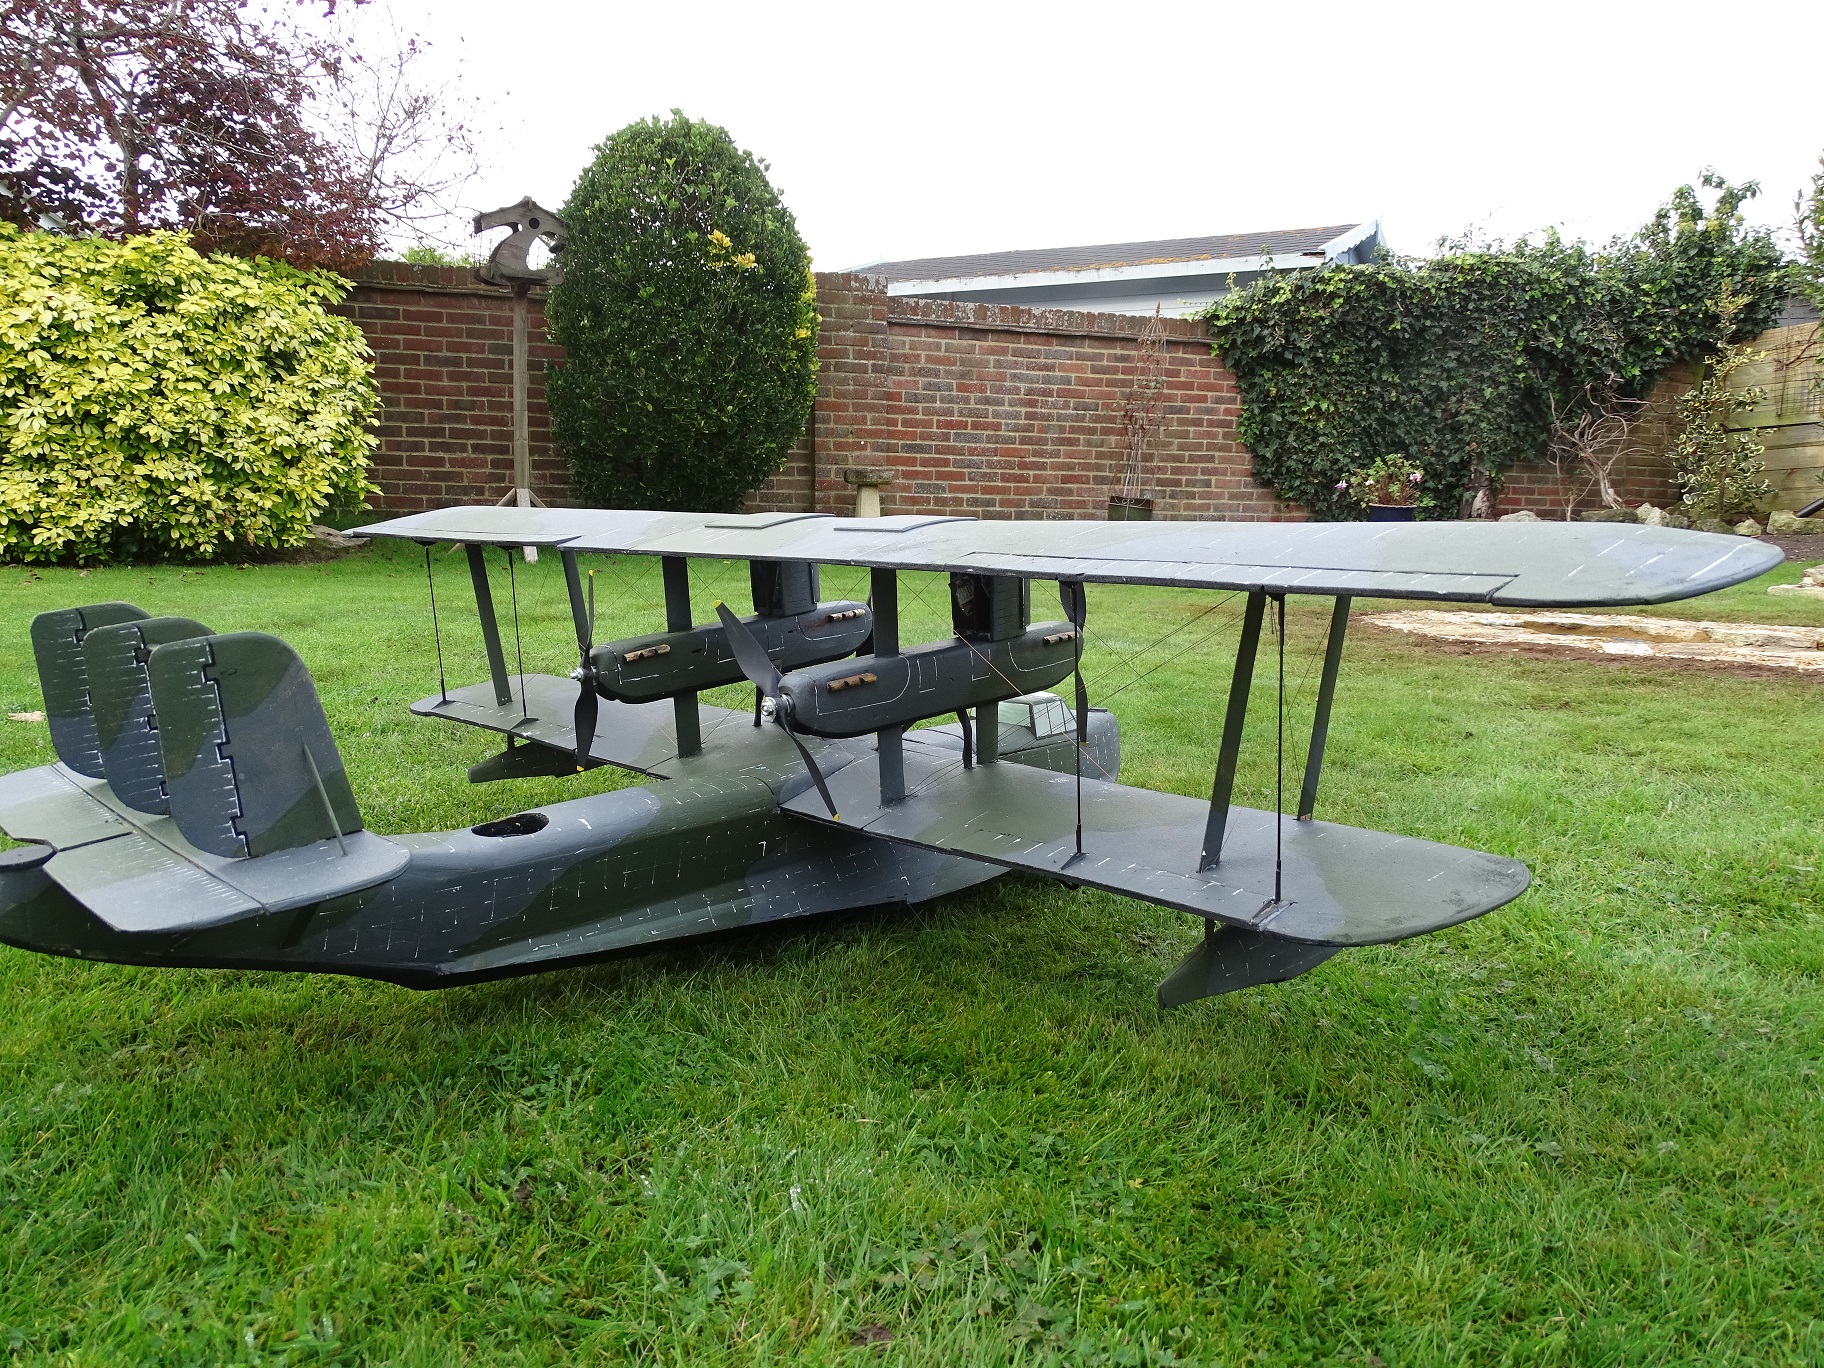
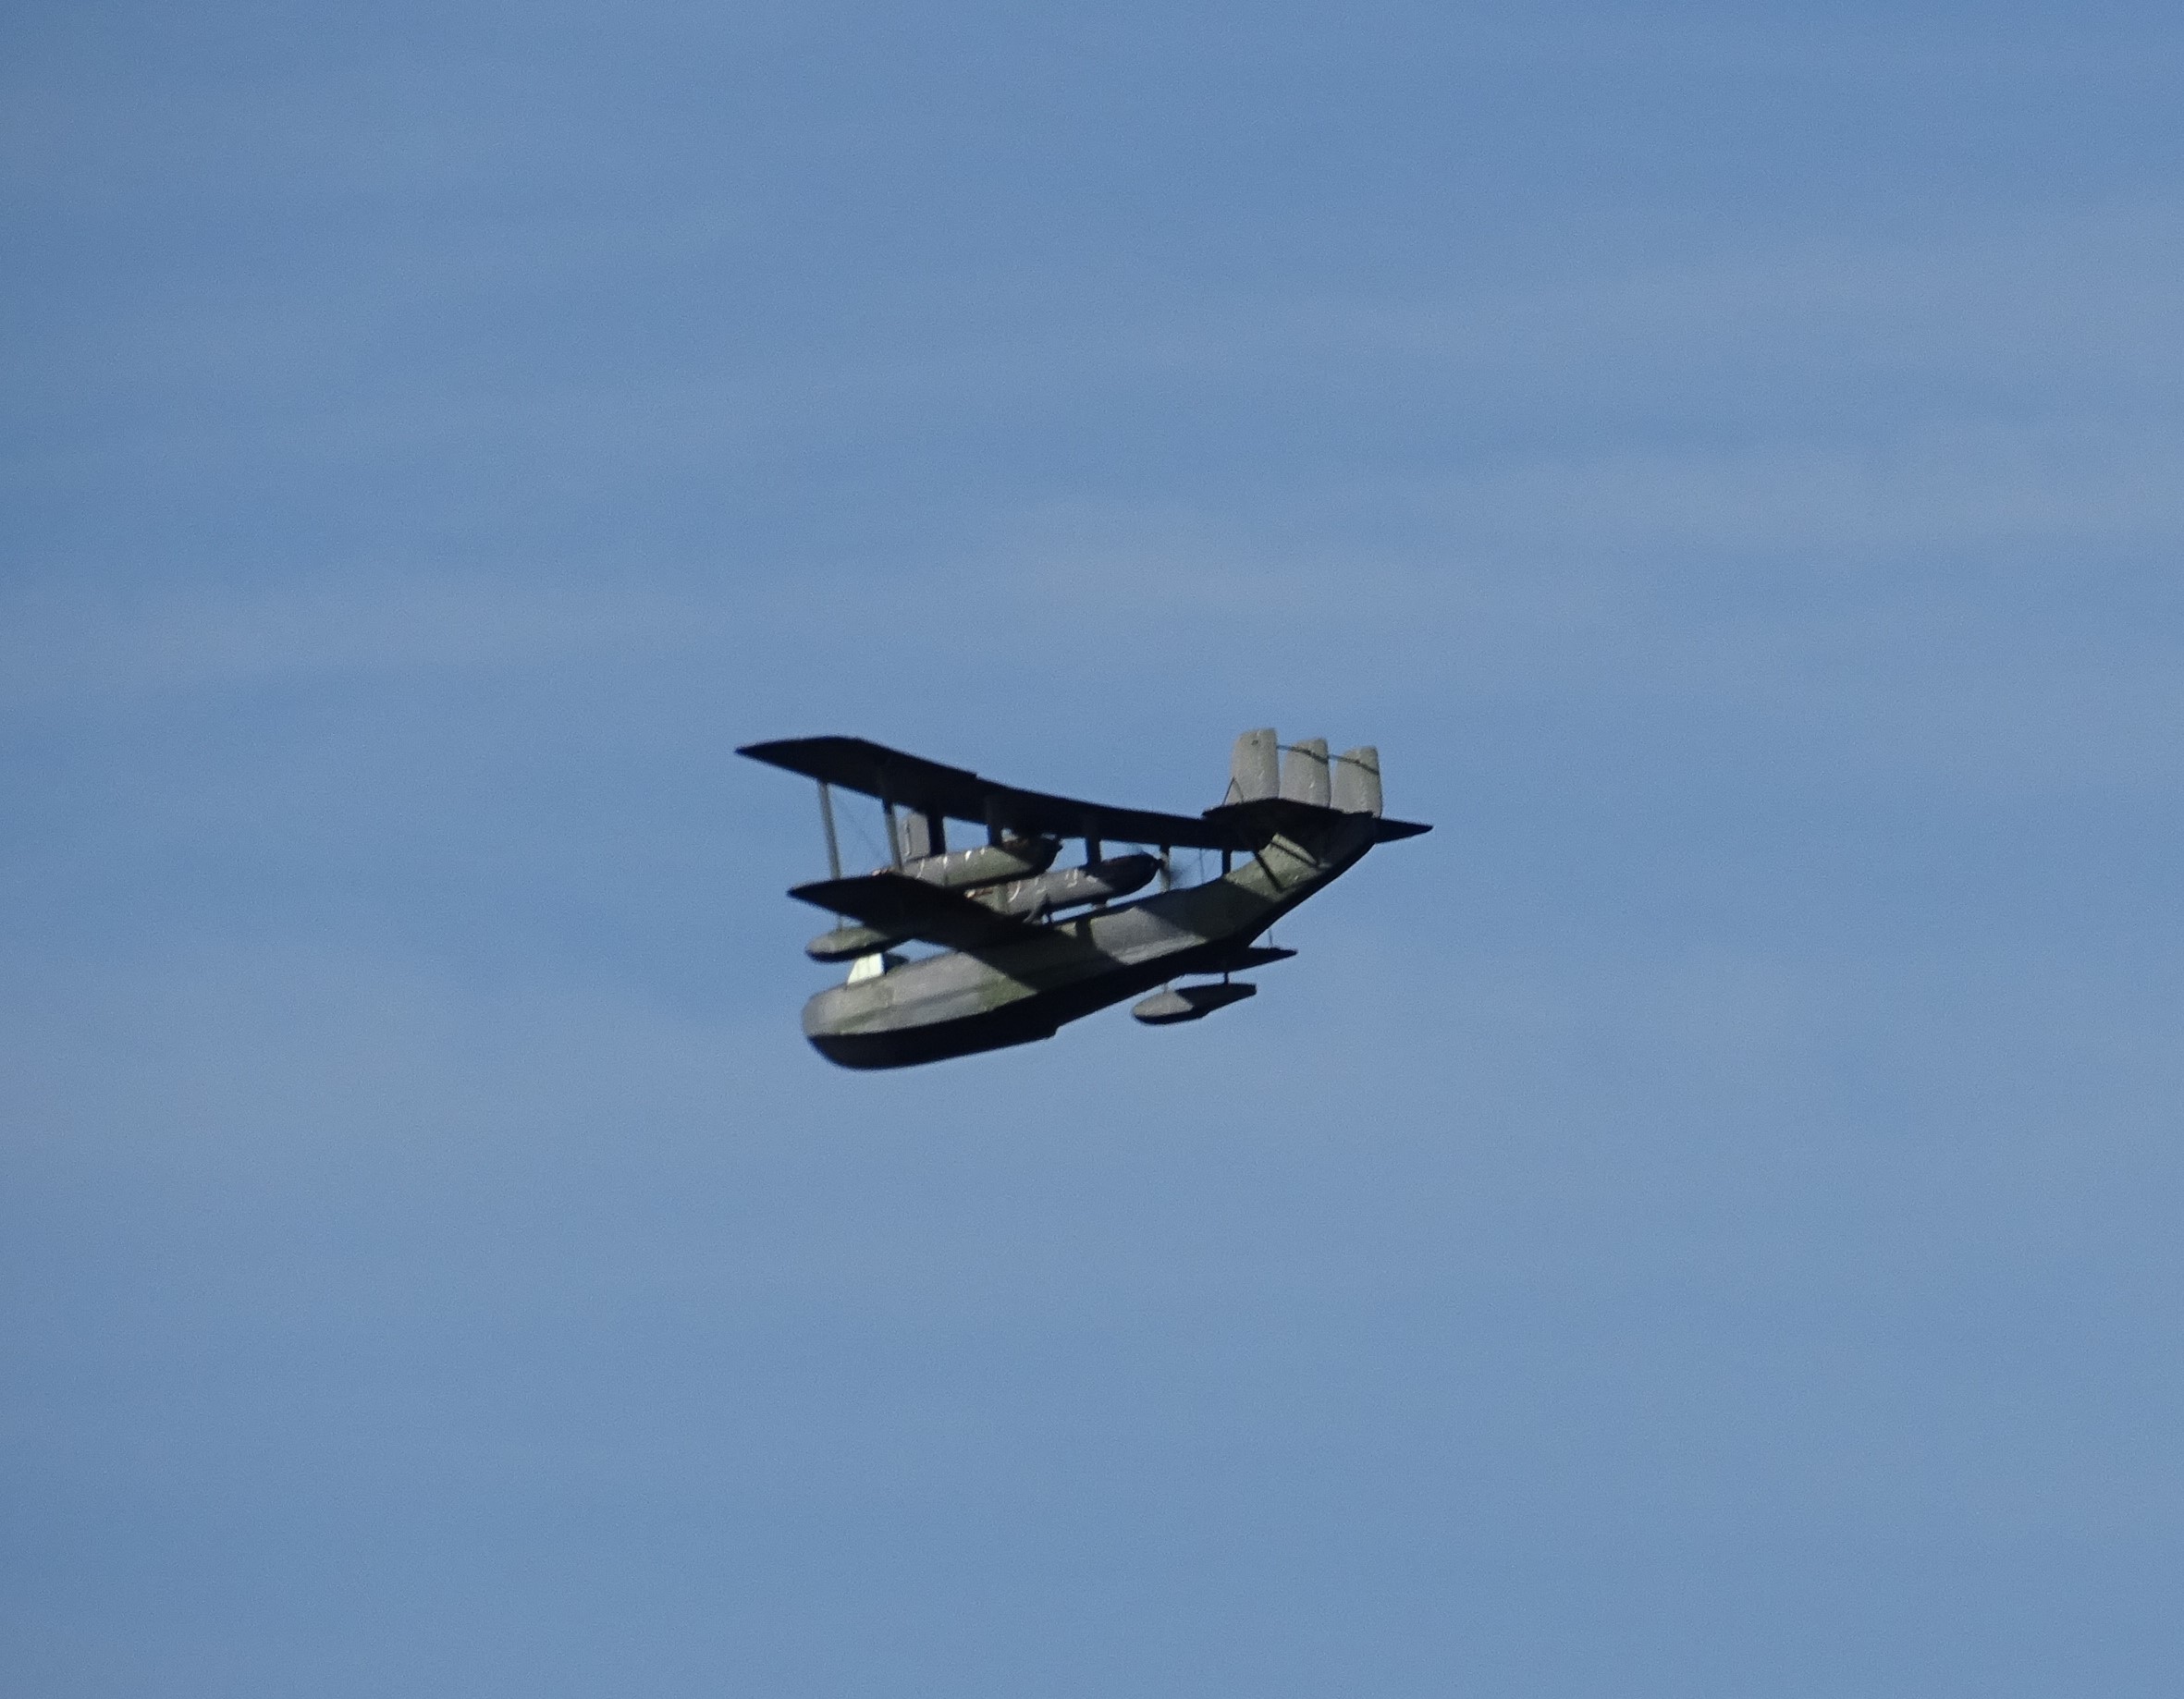
Here’s the basic fuselage structure and the finished job: the bit that survived the crash This was my bin bag a day later, and the gouge to the nose, filled with spackle during renovation. The new wings were built just like a balsa version, on 3mm depron lower skins, with 5mm hard balsa spars, 6mm depron ribs and sub-spars and topped off with another 3mm depron skin. Here you can see the wing structure and the nacelle cores Each lower wing has the aileron servos inset and at all the 16 strut locations, the ribs were doubled up to form a pocket into which the struts would fit, the inners vertical and the outers angled. The interplane struts were just 3mm balsa with ply patches where the rigging wires were to go. The nacelle struts were a balsa/ply/balsa sandwich. All were sanded to a streamline and sealed with 2 coats of sanding sealer. The nacelles were built on a liteply core with motor mounts at each end. For this size of model (about 14 oz model weight per motor) I always use 20g 1300kV brushless motors from Robotbirds with the same company’s 12A basic SCs and 7x6 props for 2 cell operation and 6x4 for 3 cells. The latter gives a better perfomance but 2 cells is enough to get these models to take off from water and fly around in a scale fashion. The props are handed, so that the port ones rotate anticlockwise (in the throttle channel) and the starboard ones clockwise (in the Aux 2 channel), then they are mixed on my TX so that port rudder speeds up the starboard motors and vice versa. The model does not have working rudders - far too complex! - so in flight the motors control yaw. Not that this seems necessary in the air, but is vital for steering on the water. The nacelles before the depron sides and balsa block front and rears were fitted. The SCs are in the scale radiators for cooling and convenience The nacelles are slim and mounted between the wings, so power and SC wires have to be routed to the centre section somehow. Mine is a non-scale solution, but at a larger size they could be fully concealed. During the build I constantly tested the electronic functions (because in the first model one of the motors would not pick up properly) and during the final assembly, where I epoxied all the struts in place, a final fingers crossed check was made before the glue had gone off. Nacelles finished. The power wires go down the ali tubes to the CS. The servo wires, well, they just drop down to the CS end ribs. Perhaps no-one will notice. Painting. I used Dulux emulsion (latex paint) pre-mixed at Homebase to the RAL colour specifications on Tim Calvert’s website: Black RAL 9011, Extra dark sea grey, RAL 7012 and Dark slate grey RAL 6003 All the big areas were rollered with two coats of paint, and any touching-up was done with a nice soft wide brush. The surface detail was added using a silver gel pen bought in a pack from Tesco. The rigging is with 7 lb fishing trace, threaded though the various holes pre-drilled in the strut ends, and properly doubled on the lift wires. I expect the model could perform without the rigging, but I feel far more confident that it will withstand a loop with all that wire in place. To my knowledge, no Singapores were looped! The ailerons were linked with CF rod and paper clip wire, using HS tube and Cyano glue to keep them in one piece. Tim has all the details for the vinyl markings, which will add a lot of character to the model, and I suppose I should make some machine guns for the fore and aft gunner positions. The maiden flight of the restored model took place on a perfect day at Longham (no fences were harmed...etc) and exceeded expectations. A long easy take-off and gentle circuits under good control. Who could ask for more? (Thanks to Dave Philpotts for the flight pictures) |
|
[Home] [Chairman's Chatter] [15 years ago] [BAe Hawk] [Flying moments] [Night flying] [Stanpit 1975] [Singapore] [Tailpiece] |
